


If clean sonar readings, steady performance, and fewer misplaced holes matter, this guide to transom mounts is for you. It walks you through transom mount installation step by step, with extra focus on transom-mounted transducers, because small mistakes on the transom usually show up fast. The tutorial is meant for recreational boaters, fishing hobbyists, commercial operators, and DIY owners who want a setup that works right the first time.
Transom mounts stay popular for a simple reason: they are easier to reach and adjust. They are also usually easier to replace than through-hull options, which is a big plus. Still, they only work well when the location, height, angle, and sealing are done correctly. On the transom, even a small positioning mistake can lead to weak sonar readings, extra spray, more drag, or damage around the mounting area. This article covers what to check before drilling, how to choose the best spot on the transom, which measurements matter most, how to mount and seal the hardware, and how to test the setup on the water. It also points out common mistakes that can cause problems later, and those are usually much easier to avoid than fix.
Before You Start
Here’s what you’ll need before installing transom mounts on a boat:
- The transom-mounted transducer or mounting kit
- A drill with the bit size listed in the product manual
- Masking tape and a pencil or fine-tip marker
- Tape measure or ruler
- Straightedge or small level
- Marine sealant rated for below-wet-area fasteners
- Screwdriver or driver bit
- Safety glasses and gloves
- Cable clips or clamps
- An optional mounting plate, which is really useful if you want to avoid adding extra holes in the transom
Tip: If the transom has any softness, staining, or old screw damage, repair that first. That step matters a lot, so don’t skip it. If you’re not sure what to look for, that’s covered here: Marine Wood Rot Repair: Restore Transoms and Decks Easily.
Step 1: Understand what transom mounts do and when to use them
A transom mount attaches to the back of the boat, usually on or near the transom, so the device sits in the water flow behind the hull. On many boats, that means a fish finder transducer, a speed sensor, a temp sensor, or a small accessory bracket, which is very common. One main reason this setup gets used so often in DIY installs is easy access. You can inspect it, make adjustments after testing, and swap it out without taking apart large sections of the boat.
For sonar users, transom mounts are often the first choice for a DIY install because they let you fine-tune things after a water test. That usually makes a real difference. Garmin technical guidance says transducer performance depends on mounting the unit where the water stays clean, without bubbles and with as little turbulence as possible. In that situation, placement often matters more than installing it fast. When the water flow is rough or disturbed, sonar performance may get weaker or the readings can turn inconsistent.
The location should be at least 15 inches (38 cm) away from the propeller.
That number is one of the key parts of this whole process. If the mount sits too close to the propeller, the water can become aerated, and that is a real problem. It may also cause false readings or even create a physical risk, especially while the boat is moving.
Common mistake: treating all transom mounts as if they work the same way. A basic accessory bracket may still work with small placement errors. A sonar transducer usually will not, because it is often much more sensitive to exact positioning.
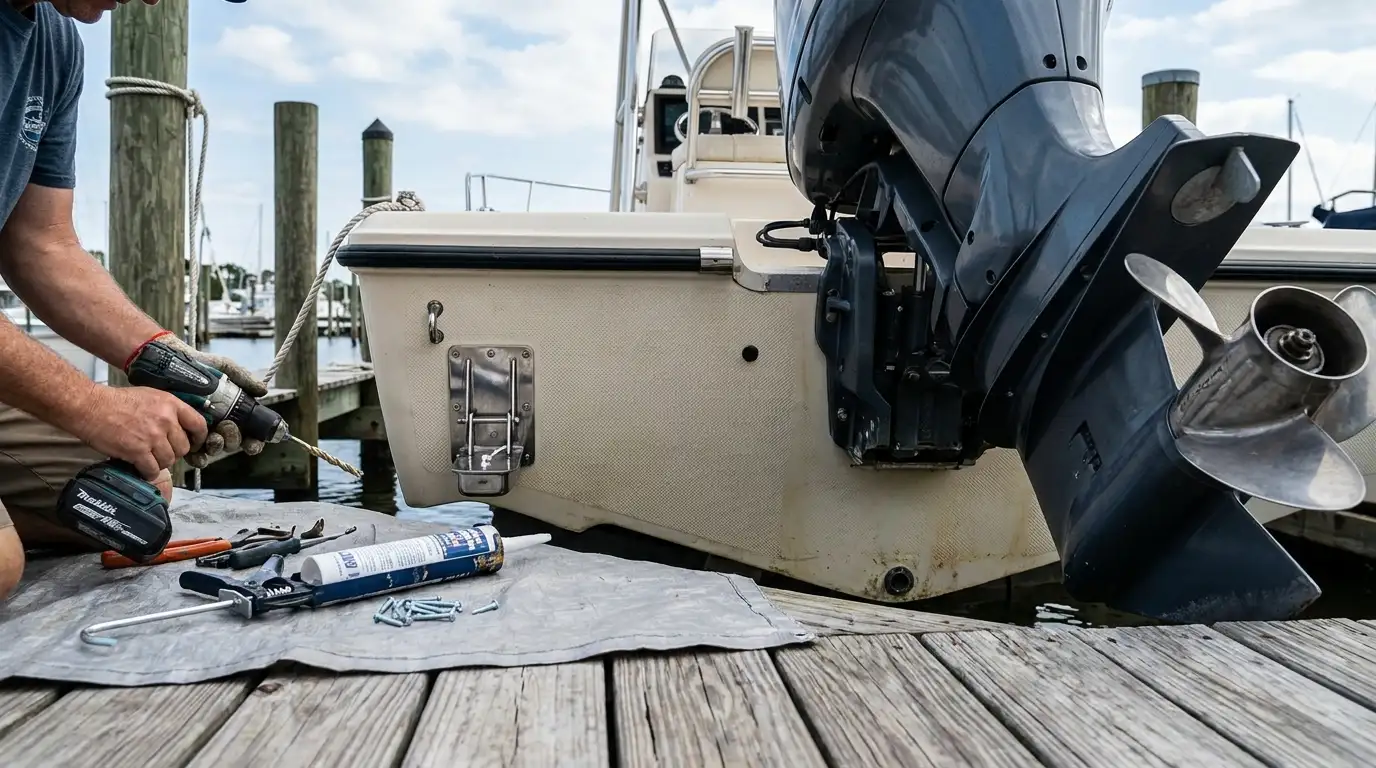
Step 2: Pick the correct side and exact mounting zone for transom mounts
Start at the stern and find the area where the water flow looks the cleanest; it’s often easier to spot than you might think. On many single-engine boats, installers choose the starboard side, especially with a right-hand propeller, because that side often keeps better water contact during the propeller down-stroke. Still, that should not be seen as the default choice for every boat. A quick look at the hull shape, strakes, intakes, steps, drain fittings, bunks, and trailer clearance now can save extra trouble later.
Garmin says the mount should be as close to the centerline as practical on outboard and sterndrive boats, while still staying clear of the propeller. In many setups, that places the transducer near the middle of the transom, but offset enough to avoid prop wash. That spot often keeps the transducer in steadier water and, in many cases, helps performance once the boat is on plane at speed.
On boats with outboard or inboard/outboard motors, you should mount the transducer as close to the centerline of the transom as possible, but at least 38 cm (15 in.) from the propeller.
Before marking the location, use these placement checks:
- Stay at least 15 inches or 38 cm from the propeller
- Avoid strakes, steps, thru-hull fittings, pickups, discharge ports, and other similar obstructions
- Leave enough room so the transducer will not hit rollers, bunks, or the trailer frame
- Make sure the cable can route up into the boat without sharp bends
- Check that the area is reachable from inside too, in case backing hardware is needed
If a trolling motor system is also part of the setup and mount styles are being compared, that was covered here: Choosing the Right Trolling Motor Mounts.
Tip: Put masking tape on the transom before marking anything. Drawing on the tape is easier to adjust, and it also helps protect the finish during drilling, which is a nice bonus.
Step 3: Set the right height and angle before drilling
This is where a lot of installs start to go wrong, and honestly, it happens pretty often. The transducer needs to sit low enough to stay in clean, solid water, but not so low that it makes spray or adds extra drag. It’s a careful balance, and verified manufacturer guidance gives you a dependable place to start instead of guessing.
On many fiberglass hulls, the bottom edge of the transducer sits about 3.5 mm or 0.125 inch below the hull bottom. On many aluminum hulls, it usually extends about 10 mm or 0.375 inch below. Some installation guides also show a typical setback past the transom of 3 mm or 1/8 inch for fiberglass, and about 10 mm or 3/8 inch for aluminum.
| Setup point | Fiberglass | Aluminum |
|---|---|---|
| Extension below hull | 3.5 mm (0.125 in.) | 10 mm (0.375 in.) |
| Typical setback beyond transom | 3 mm (1/8 in.) | 10 mm (3/8 in.) |
These measurements are starting points, not exact final settings. After a sea trial, small adjustments may still be needed, and that’s normal in most cases.
The transducer should be installed parallel with the transom’s waterline, not the bottom of the boat (deadrise).
That’s the second big rule. But it should not be lined up with the V of the hull. Instead, line it up with the waterline when the boat is at rest, because that is usually the reference that matters once the boat is sitting naturally in the water.
Common mistake: Mounting the unit too high to protect it. That can feel like the safer choice, which makes sense. But it often causes signal loss at speed, especially when trying to hold bottom while on plane.
Step 4: Mark, drill, and seal the mounting holes carefully
Once the location and angle are set, hold the bracket in place and mark the pilot holes. Before drilling, it usually helps to check the height again, the side-to-side position on the transom, and the cable route up to the unit. It is a small step, but at this stage of the job, it often makes a real difference. Manufacturer instructions do vary, and verified guide figures show pilot-hole depths of about 25 mm or 1 inch in one Humminbird guide and 18 mm or 7/10 inch in one Garmin GT-series guide. In most cases, the exact instructions for the specific model are the ones to follow.
Drill slowly, and keep the bit square to the transom unless the hardware instructions say something else. After drilling, clean the dust from each hole, then apply marine sealant into the hole and on the fastener threads. That helps keep water from getting into the transom core, which is probably the main risk here, so spending a little extra time is usually worth it.
A mounting plate is also worth thinking about if the goal is to avoid making more permanent holes. It gives more room to reposition the transducer later without drilling into the transom again. That is one reason more people use them now, since modern sonar setups often need small corrections after testing on the water.
Troubleshooting note: If old holes are already there, do not reuse them unless they match perfectly and are fully sound. If there is any doubt, repair and reseal the area first, as that is usually the safer choice. That was covered in the related guide on Wood Rot Repair on Boats: Identify, Fix & Prevent Damage, which can help assess the substrate.
Step 5: Attach the mount and route the cable without strain
Fasten the bracket first, then attach the transducer to it. Tighten the screws firmly, but be careful not to crush plastic brackets or drive them too hard into a fiberglass transom, since that is often easier to overdo than you might think. The transducer should sit level with the waterline, basically parallel to the surface once the boat is in the water. It also needs to stay clear of trailer parts, especially rollers, bunks, or anything it could hit during loading.
While everything is still easy to reach, this is a good time to check cavitation risk.
The transducer can cause cavitation that degrades the boat's performance and could damage the propeller.
That may sound a little dramatic, but it can become a real problem. A badly placed mount can disturb water flow enough to affect performance, and on a twin-drive boat, many manufacturer guides suggest placing it between the drives when practical, since that area may offer cleaner water and more even protection.
Then route the cable upward and, if possible, add a drip loop. Use clips, clamps, or similar supports every few inches so the cable does not hang loose or rub on sharp edges, because even a small worn spot can turn into a bigger problem. Keep it away from hot engine parts, and also clear of steering movement and pinch points near rigging tubes or splash wells, where cables often get squeezed or worn.
Common mistake: Leaving slack cable where it can whip around in waves. Over time, that can damage the cable jacket or the connector.
Step 6: Water-test the transom mounts and fine-tune in small steps
Launch the boat and start testing at idle. While the boat is sitting still, keep it simple and check the transom area inside for leaks. You should also make sure the transducer is showing depth or returning sonar properly before adding speed. Then increase speed in stages and watch for a few clear signs:
- Depth reading drops out when you get on plane
- The sonar picture gets noisy at speed
- Spray comes off the transom near the mount
- The boat feels different, especially in turns or under acceleration
If readings start failing at speed, adjust the transducer only a little by lowering it slightly or changing the angle in very small steps. One useful way to do this is to make just one change at a time. Small movements often matter here, and even a few millimeters can make a noticeable difference. In most cases, this gradual method is still the standard best practice, since every hull usually moves water a little differently.
Also look at the wake behind the boat. If the mount is throwing too much spray, it is probably sitting too low or too far into disturbed flow, which can be easier to miss than it seems.
Tip: Bring a screwdriver and the correct wrench on the first test run, I think. That way, one adjustment can be made at the ramp instead of guessing later.
Frequently Asked Questions
What is the main benefit of transom mounts?
The main benefit is easy installation and adjustment. You can usually reach the mount from the outside of the boat, which makes testing and correcting the setup much simpler than a through-hull install.
How far should a transom-mounted transducer be from the propeller?
A common verified guideline is at least 15 inches or 38 cm from the propeller. That spacing helps reduce turbulence, protects performance, and lowers the risk of cavitation problems.
Should the transducer be level with the hull bottom?
Not exactly. It should be parallel with the waterline, not the deadrise angle of the hull bottom. It also often sits slightly below the hull, with different depth targets for fiberglass and aluminum boats.
Are mounting plates worth using on transom mounts?
Yes, in many cases. A plate can reduce repeat drilling into the transom and makes later adjustments easier, which is helpful if you upgrade electronics or need to reposition the bracket after sea trials.
Where can you find marine parts and install supplies for this kind of job?
You can find transducers, sealants, rigging parts, and other boating supplies through First Choice Marine. It is helpful to gather the mount, sealant, cable hardware, and any replacement fasteners before you start so the install can be done in one session.
What if you are not sure your transom is strong enough for a new mount?
Check for soft spots, old wet screw holes, cracked sealant, or discolored core material before drilling. If you need replacement parts or general boat rigging supplies, the online marine parts retailer can help you source what you need, but repairing structural damage should come before any new mount is installed.
Make Sure Your Installation Is Actually Successful
A successful transom mount install is usually pretty easy to spot. The unit stays firmly in place, and the cable stays protected, which matters a lot here. There are no leaks. Your sonar or sensor keeps working from idle all the way to planing speed with very little noise. On the other hand, if the boat starts throwing extra spray behind the transom, loses its reading once it gets up on plane, or shows signs of cavitation, that is something to watch for. Recheck the location, the height, and the angle.
With transom mounts, the simplest way to handle it is usually to focus on placement before drilling and save testing for the end. In this situation, that order often makes the difference. If you rush, you will probably create more work for yourself. If you follow that sequence, you are much more likely to end up with a clean install that is safer for the boat and more useful on the water in most cases.
So the next step is to inspect the transom, gather the tools, mark the mounting zone with tape, and measure twice before drilling once. Start with the manufacturer numbers, then adjust in small steps during the water test. That careful process usually gives you the best chance of getting transom mounts right the first time.
