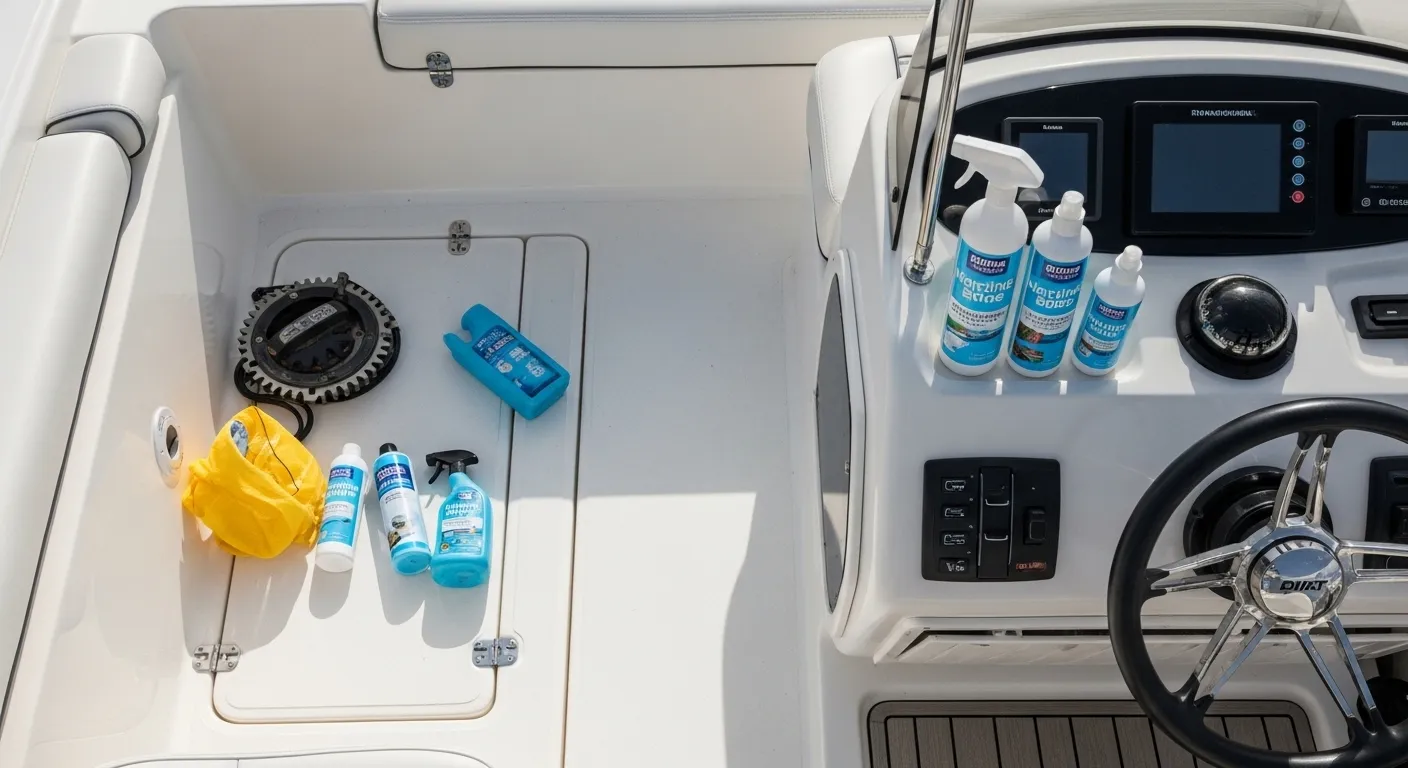
Want your engine to start strong next season? Now’s the time to protect it. This guide covers how to winterize boat engine systems, step by step. It’s for outboard, inboard and sterndrive owners who want simple, practical marine maintenance they can do at home. Straightforward stuff. You’ll learn how to treat fuel, flush cooling passages, protect engine internals, care for the battery and get the boat ready for storage without missing the small details that can turn into big spring repair bills.
A lot of cold-weather engine damage comes down to basic neglect. Water left where it shouldn’t be can freeze and crack parts. Old fuel goes stale and clogs injectors or carburetors. A weak battery can die over the winter. Small issue, expensive fix. Seals, hoses and metal parts also take a hit when a dirty, damp engine sits for months, especially if nothing gets cleaned or checked before storage. Most winterization jobs follow a clear order, so the work feels manageable once you know what needs to happen first.
Before you start to winterize boat engine systems
Get everything together first so the job doesn’t stall halfway through. You’ll need your engine owner’s manual, fresh fuel, a fuel stabilizer, engine fogging oil if your engine calls for it, the correct engine oil and filter, lower unit gear lube, muffs or a flushing attachment, basic hand tools, drain pans, clean rags, marine grease, a battery charger, and the right non-toxic marine antifreeze if your engine type requires it.
Wear gloves and eye protection. Work in a well-ventilated area.
A simple prep checklist can save time, especially since seasonal storage problems often trace back to fuel, batteries, or systems that were ignored.
| Winterization Task | Why It Matters | Typical Risk If Skipped |
|---|---|---|
| Fuel stabilization | Prevents varnish and moisture issues | Hard starting or clogged fuel system |
| Cooling system draining or antifreeze | Protects against freeze damage | Cracked block, manifold, or hoses |
| Battery care | Prevents discharge and sulfation | Dead battery in spring |
| Oil change | Removes acids and contaminants | Internal corrosion during storage |
Use your manual as the final word for your engine model. Some steps are different for 2-stroke outboards, 4-stroke outboards, diesel inboards, and gasoline sterndrives.
Step 1: Inspect the engine and fix obvious problems first
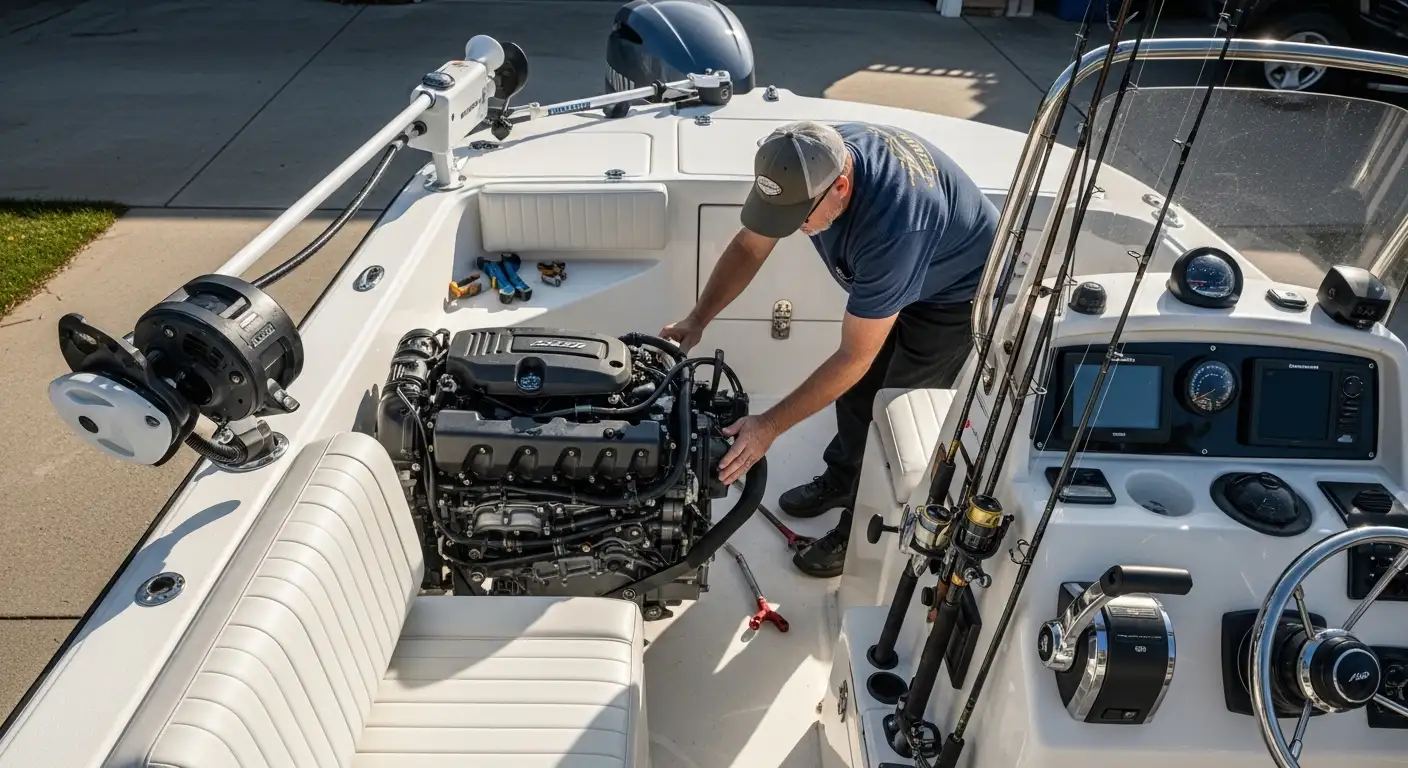
Before storing anything, check for leaks, cracks, worn hoses, loose clamps, damaged wiring, and corrosion. Winterization helps protect an engine that already runs properly. It does not fix hidden problems. If a cooling hose is damaged or a fuel line is leaking, that issue will still be there in spring, and storage may make it worse.
Remove the engine cover or open the engine compartment. Check for oil in the bilge, a fuel smell, salt buildup, milky gear lube, and rust trails around fittings. Squeeze the hoses. If one feels brittle or too soft, replace it. Look at belts for glazing and cracks. Check spark plug boots and the wiring insulation for wear. On outboards, inspect the prop area, and if you find fishing line on the prop shaft, remove it.
Also check the bigger maintenance picture. Dirty electrical connections or corrosion on battery cables should be dealt with before storage. Handle it now. This guide on Marine Electrical System Maintenance: 2025 Boater Guide can help with that cleanup work.
Tip: Write down what you find. Even a quick note on your phone can save time later, especially when spring launch season gets busy.
Common mistake: A lot of boat owners skip the inspection because the engine “ran fine.” Small leaks and weak hoses can stay hidden while the boat is in use, then show up after it sits for months. That is bad timing.
Step 2: Stabilize the fuel and run the engine long enough to circulate it
Fuel is one of the biggest off-season trouble spots. Gasoline can break down over time, lose volatility, and leave sticky deposits behind. Moisture can also get into the fuel system, which may lead to corrosion or phase separation in ethanol-blended fuel. To winterize boat engine fuel systems the right way, add the correct amount of stabilizer to the tank based on the product label. Then top off the tank if your manual says to store it full. Less air space means less chance of condensation.
After adding the stabilizer, run the engine for about 10 to 15 minutes. The treated fuel needs to move through the fuel lines, pump, injectors, or carburetor. If the boat is out of the water, set up proper flush muffs or a manufacturer-approved water supply before starting the engine. Never run it without water.
Diesel engines may also need a diesel treatment to help control moisture and microbial growth. In that case, the winter routine should match the broader Marine Fuel System Maintenance Strategies for 2025 plan, especially for boats that sit for long stretches.
Some owners with carbureted gasoline engines also drain the carburetor bowls if the manufacturer recommends it. With modern fuel-injected engines, follow the manual and don’t make assumptions.
Tip: Mark the date of fuel treatment on a tag near the helm or in the maintenance log.
Common mistake: Some owners add stabilizer and never run the engine afterward. That leaves untreated fuel sitting in the lines and other engine parts.
Step 3: Flush the cooling system and remove all water that can freeze
Handle the cooling system carefully to help prevent expensive freeze damage. On outboards, flush the engine with fresh water using flush muffs or the built-in flush port, and follow the manual for the right process. Let the water run long enough to rinse out salt, sand and debris. Especially after saltwater use, do it well.
With inboards and sterndrives, the job may also include draining block passages, manifolds, coolers and hoses, depending on the setup. Some engines need non-toxic marine antifreeze after draining. Others do not. They just need complete draining. The right answer depends on the engine design. Never assume every boat uses the same winterizing method.
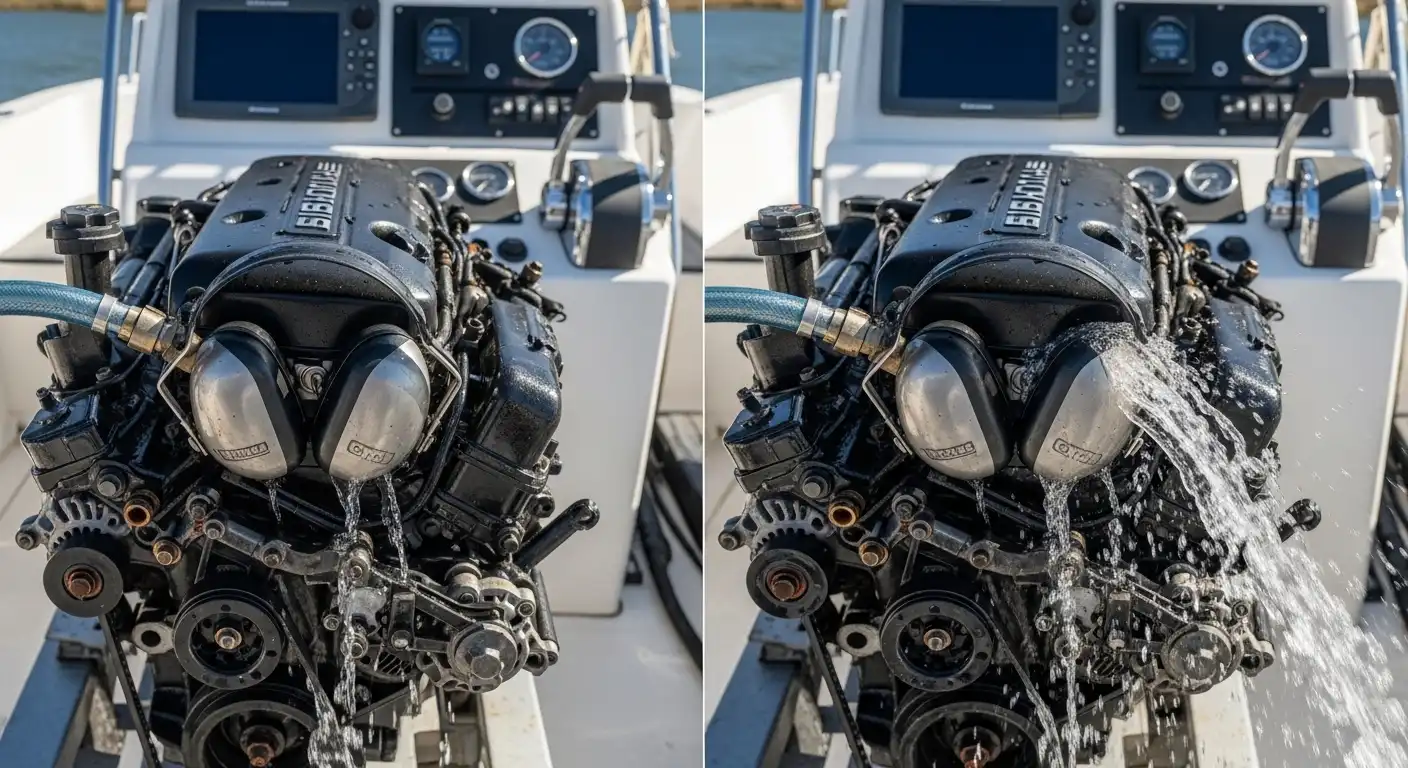
Trapped water can freeze during storage. Open drains carefully, clear debris from drain holes and make sure all the water has emptied before moving on. If the engine uses antifreeze for winterization, circulate the correct marine product until it comes out where it should.
Tip: Keep a small pick or piece of wire nearby to clear blocked drain openings, but do not push hard enough to damage the fittings.
Common mistake: Some people use automotive antifreeze in the wrong place. Others assume a quick flush gives the same protection as winterization. It does not.
Step 4: Change engine oil, filter, and lower unit gear lube
Don’t leave dirty oil in the engine all winter. Used oil carries acids, moisture, and contaminants, and over time they can slowly damage internal parts. Change the engine oil and filter while the engine is still warm from the earlier run because it drains better. Warm oil flows faster and helps remove more debris.
Use the exact oil grade and filter type listed in the owner’s manual. Fill carefully, check the dipstick, and don’t overfill. Then inspect the old oil. If it looks milky, water may be getting in, and that needs attention before storage.
Next, change the lower unit gear lube on outboards and sterndrives. Drain it into a clean pan and inspect it closely. Clean lube is a good sign. Milky lube usually points to water intrusion, sometimes from a bad seal. Metallic flakes can mean gear wear.
If problems show up, more service may be needed. In that case, the article on Boat Engine Parts: What to Expect in the Growing Market for 2026 is a helpful next read.
Tip: Replace drain screw gaskets or seals if the engine uses them. It’s a small part that does an important job. Reusing crushed seals can cause leaks.
Common mistake: Don’t skip the lower unit because the engine “only has a few hours.” That may seem harmless, but storage time can still make hidden water intrusion worse.
Step 5: Protect the cylinders, grease fittings, and care for the battery
Once the fluids are handled, protect the engine’s internal and external parts. Some gasoline engines, especially many outboards and carbureted models, need fogging oil during winterization. It coats internal surfaces and helps prevent rust. Check the manual. Some newer fuel-injected engines use specific procedures, and some do not use traditional fogging the way older engines do.
Grease the steering pivots, tilt tubes, and any other service points the manufacturer lists. Then wipe down exposed metal. If it makes sense, use a corrosion inhibitor, especially on saltwater boats where exposed parts can take more wear while the boat sits in storage.
Remove the battery or switch it off, then connect it to a quality marine smart charger. If the manufacturer and your storage setup allow it, store the battery in a cool, dry place. Before storage, clean the terminals. That is easy to miss. A neglected battery is the first nasty surprise in spring, and it can slow down the rest of launch prep.
If you need a full battery refresher, the team at First Choice Marine also covers marine battery care and maintenance topics that fit well with winter prep.
Tip: Label battery cables before removal so reinstallation is quick and mistake-free.
Common mistake: Leaving the battery to self-discharge all winter without a maintainer.
Step 6: Finish storage prep and secure the boat
Finish storage protection before putting the boat away. If recommended, lower the outboard to the down position so water can drain. For inboards and sterndrives, complete each winterizing step before the cover goes on. Then remove food, wet gear, and anything else that holds moisture. Clean the bilge and dry it well. Moisture leads to mold, bad smells, and corrosion.
Use a proper fitted cover or shrink wrap with ventilation. Airflow matters. If a boat sits sealed up while damp, mildew can take over by midwinter. If the boat stays on a trailer, chock the wheels, support the trailer properly, and check tire pressure. Storage season is also a good time to review Boat Trailer Maintenance: Bearing, Brake, and Light Failures. It helps make the first trip next season safer.
Before leaving, place a reminder note at the helm that says what’s already done and what still needs attention in spring.
Tip: Keep drain plugs in a marked bag or install them where the spring routine expects them.
Common mistake: Covering the boat while the interior is still damp.
Frequently Asked Questions
When should you winterize a boat engine?
You should winterize before freezing temperatures arrive, not after the first hard freeze. A good rule is to do it as soon as your boating season ends and the boat will sit for several weeks in cold weather.
Do you need to fog every boat engine?
No. Some engines need fogging oil, and some newer engines use different procedures. Always check your owner’s manual because the wrong method can create problems instead of preventing them.
Can you winterize a boat engine without running it?
Some steps can be done without running the engine, but fuel stabilizer and oil changes are usually better after a short run. If the engine cannot run, you will need to follow the manual closely and may need extra troubleshooting before storage.
What is the biggest mistake people make during winterization?
The biggest mistake is leaving water trapped in the cooling system. A close second is skipping fuel treatment. Both can lead to expensive spring repairs.
Where can you get winterizing supplies for DIY marine maintenance?
You can usually find fuel stabilizer, engine oil, gear lube, corrosion protection products, and battery care items from marine parts retailers such as First Choice Marine. It helps to buy engine-specific supplies that match your manual instead of using generic substitutes.
Is it better to do winterization yourself or hire a shop?
If you are comfortable following a manual, many owners can handle basic winterization themselves. If your engine has a complicated cooling setup, existing problems, or you are not sure about the procedure, a professional service visit is worth the cost.
How to confirm the job is done right when you winterize boat engine systems
You don’t have to guess if winterization is finished. Check the work in a simple order. Treat the fuel and make sure it circulates well. Flush and drain the cooling system or protect it with the right marine antifreeze if that fits your setup. Change the oil. Change the lower unit lube as well. Disconnect the battery or leave it on a maintainer. Then make sure the engine and boat are clean, dry, and properly covered for storage.
Take one last walk-around before you finish. Look for small things that can get missed, like open drains, loose hose clamps, tools left in the bilge, or an outboard sitting in the wrong position. These details are easy to miss. If the inspection shows milky oil, weak compression, damaged hoses, or corrosion, don’t put those problems off until spring. Winter gives owners time to line up parts and plan repairs before the busy season begins.
For many owners, winter is also a good time to restock maintenance items from an online marine parts and equipment retailer like First Choice Marine and get ahead on spring prep. Done right, winterization is more than basic storage work. It’s one of the smartest kinds of preventive marine maintenance available. Protect the engine now. Next season will be a lot easier.