

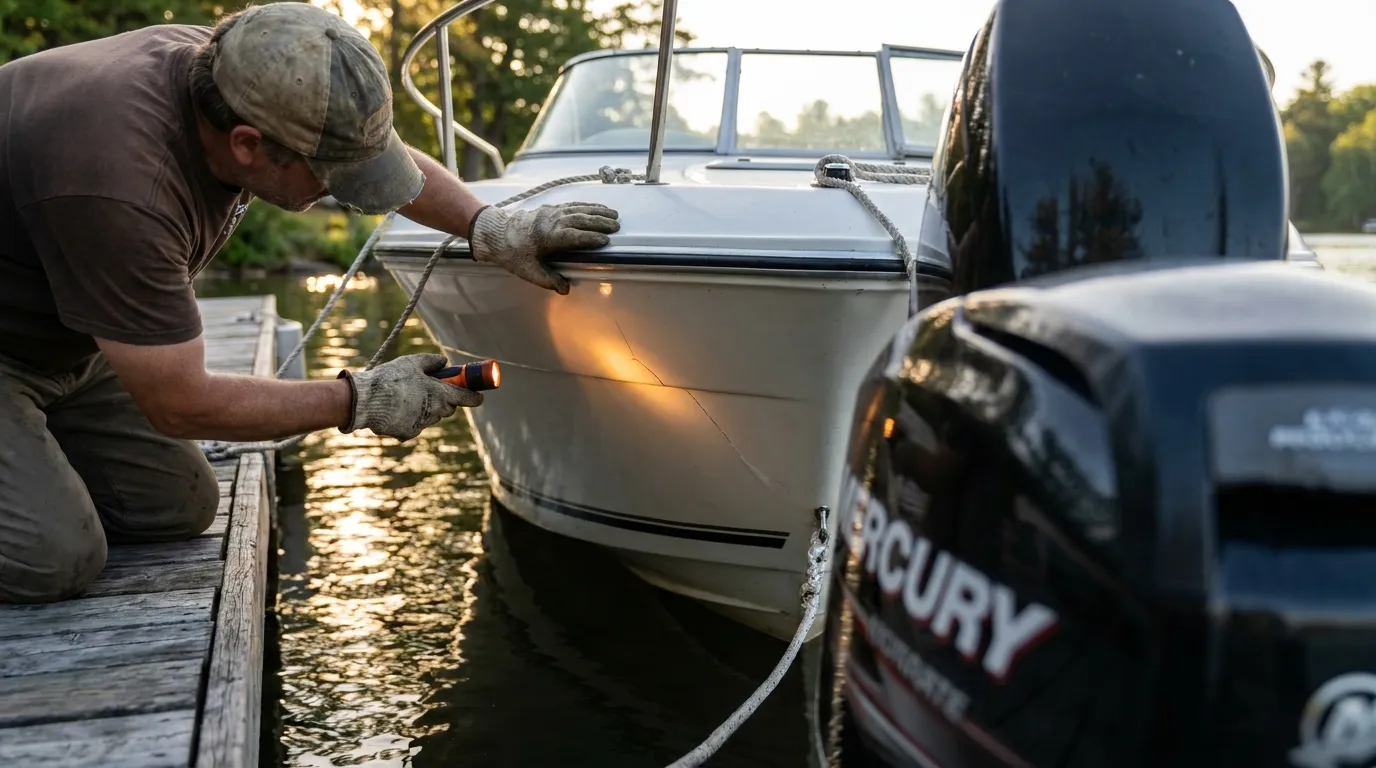
Seeing fiberglass damage for the first time can feel pretty unsettling. A chip near the bow, a spider crack on the deck, or a gouge from the dock is enough to make any boat owner think about leaks, repair costs, and time lost on the water. That’s a lot to process, and yeah, it’s stressful. The good news is that many smaller repairs can be handled at home if you have patience, the right supplies, and a clear set of steps. Learning basic fiberglass repair is helpful for weekend boaters and commercial owners alike.
This guide explains everything in a simple, friendly way. It covers how to tell cosmetic damage from structural damage, which tools and materials to gather, how to fix cracks or small holes, and when a job is not safe to take on by yourself. That part matters for both you and your boat. It also covers common cost ranges, safety rules, and the finish work that helps a repair hold up. Need more detail on hull-specific work? We covered that here: Fiberglass Boat Hull Repair: Step-by-Step Restoration for Structural Integrity. If you like doing your own maintenance, basic fiberglass repair can save money and help protect your boat for years.
Know What Kind of Fiberglass Repair Damage You Are Looking At
Fiberglass repair starts with the damage itself, not the resin. Before you do anything else, figure out what actually happened. Some problems only affect the outer finish layer, the gelcoat. Others go deeper into the fiberglass laminate and can affect strength. That difference is what separates a manageable cosmetic fix from a repair that needs more experience and careful thought.
Minor damage usually means surface scratches, chips, shallow gouges, and light crazing. Moderate damage can show up as deeper cracks, small punctures, or soft spots in one area. Severe damage includes large holes, delamination, major flexing, and damage below the waterline. Once repairs get into that range, the work gets more complicated and the cost can rise fast.
| Damage Level | Typical Repair Cost | What It Often Includes |
|---|---|---|
| Minor | $100-$500 | Chips, scratches, small gelcoat cracks |
| Moderate | $500-$2,000 | Deeper cracks, small holes, laminate patching |
| Severe | $2,000-$10,000+ | Delamination, large holes, structural rebuilds |
That jump in price is one reason many owners take care of simple repairs themselves. In some markets, professional labor alone can cost $100-$150 per hour. Still, serious structural damage is not something to guess about. Does the area feel soft, keep cracking, take impact loads, or sit below the waterline? Check it carefully before moving forward. If you rush, you can miss deeper damage under the surface, and that is exactly what turns a smaller repair into a bigger one.
Pick the Right Fiberglass Repair Material Before You Start
Many DIY repair issues start with the wrong material. The basic split is simple: epoxy for strength, gelcoat for finish. On many fiberglass boats, gelcoat is the outer layer you actually see. It handles color, surface protection, and cosmetic touch-ups well. Epoxy works better for bonding, waterproofing, structural rebuilding, and repairs that need to hold up under stress.
A chipped area or a light surface scratch may only need a gelcoat repair. If the damage goes deeper, though, like a crack, hole, or broken laminate, you’ll usually want epoxy resin and fiberglass cloth instead. After the structure is fixed, the surface can be faired and finished with gelcoat or paint. Marine repair testing also shows that cured epoxy, if it’s prepared the right way, can take polyester gelcoat for below-waterline repairs, which helps in the right situation.
The greatest use of System Three epoxy for fiberglass hull repair is gel coat blister repairs below the waterline.
Not every repair needs both epoxy and gelcoat. The better choice is to match the material to the actual damage. Small deck nicks might only need filler and a finish coat. A cracked transom corner or a damaged hull section is different, and a simple surface patch will not be enough.
For a broader look at materials and repair types, we covered that here: Fiberglass Repair Basics: From Gelcoat to Structural Fixes. It explains where basic cosmetic repair stops and where stronger laminate work starts. The guide is clear, helpful, and easy to follow.
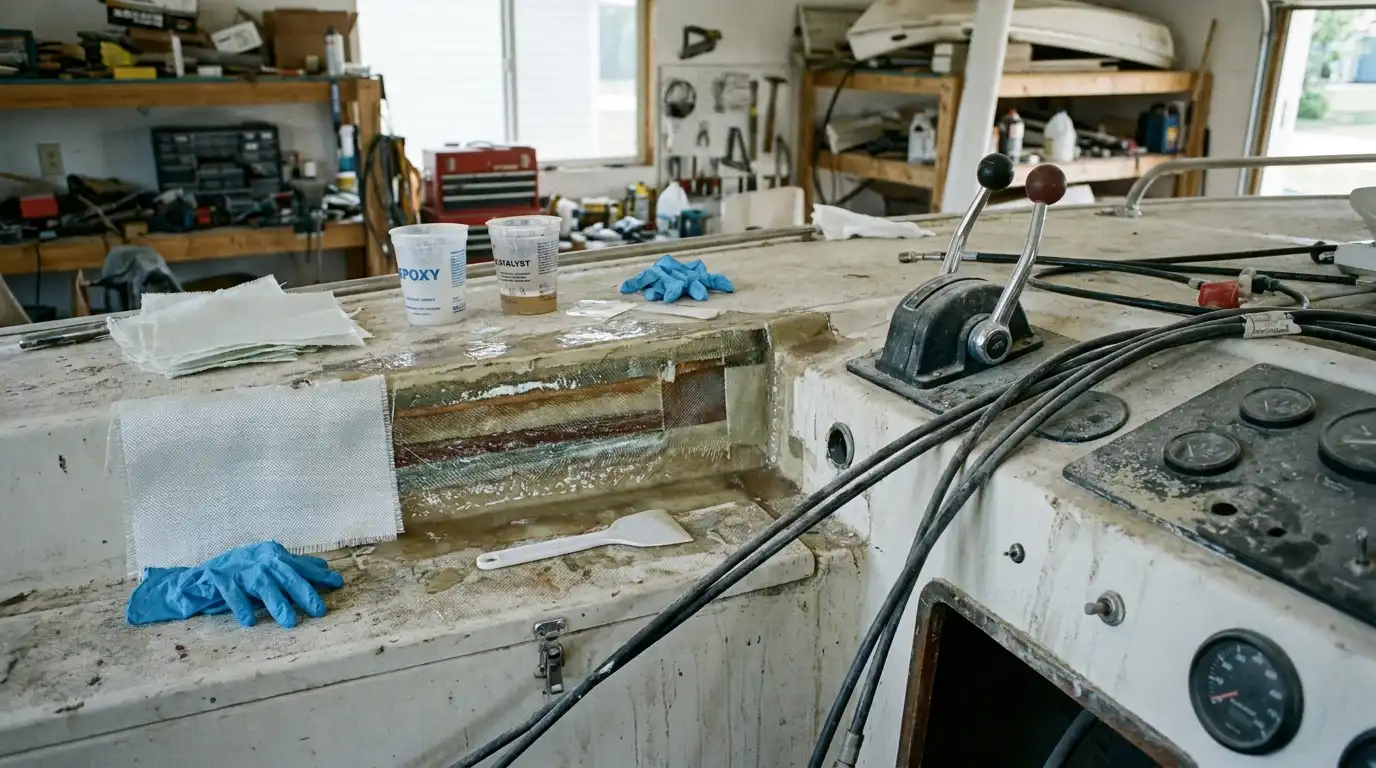
Follow a Simple Step-by-Step Fiberglass Repair Process
Fiberglass repair mostly comes down to prep, not speed. If you rush, it’s easy to trap moisture or leave weak material behind. Then the patch may fail later. A standard repair process works well for many small jobs. It also works well for medium repairs.
1. Clean and dry the area
Wash off dirt, wax, salt, fuel film, and any loose debris (yes, all of it). Then let the area dry fully before the repair. Even a small bit of moisture under the patch can ruin the bond (and that’s the last thing anyone wants).
2. Inspect and remove weak material
Start by tapping around the damaged area for a quick check. Then sand or grind away cracked gelcoat, loose fibers, and weak laminate until you reach solid material. Remove all damaged parts, and feather the edges so the repair blends with the surrounding surface.
3. Build back the structure
For bigger repairs, cut the fiberglass cloth to size before mixing the resin, since that makes the job simpler. Then apply the resin, place the cloth, and wet it out fully. Add more layers if needed, and let the patch cure completely.
4. Fair and smooth
Start by sanding the cured area first, don’t skip this step. Then, if needed, use filler or a fairing compound. If the gelcoat crazing is bad, keep the fairing compound thin. The usual guideline is no more than 1/8 inch or 3 mm.
5. Finish the surface
Apply gelcoat or paint. Sand and polish if needed.
If this is your first kit, Fiberglass Repair Kits That Work for Boat Hulls & Decks can help show what’s really useful and what’s mostly filler, which honestly helps a lot.
Safety and Mistakes That Can Ruin a Fiberglass Repair
DIY fiberglass repair is definitely possible, but it is not casual work. Fiberglass dust can irritate skin and lungs, and it gets everywhere. Resin fumes can also be harmful, especially in tight spaces. At a minimum, wear gloves, eye protection, and a respirator rated for the job. A well-ventilated area matters too. It also helps to protect nearby hardware from dust, drips, and stray debris, which saves cleanup later.
Most repair mistakes are pretty basic. Owners rush and skip drying time. Some patch over weak laminate. Others use too much filler or do not sand enough between steps. Another common problem is trying to fix structural damage with cosmetic products. It may look good at first, but a glossy finish only hides weakness for a while. It does not bring back strength.
Repairs can also go wrong when the area is built up too thick. Heavy fairing may crack later or show through. If the damage is broad, wet, soft, or spreading, stop and reassess. Delamination and core damage are not the same as a chipped gelcoat edge.
Our test clearly demonstrates that polyester gelcoats can be applied over cured WEST SYSTEM epoxy on repairs below the waterline.
That quote helps, but there is one important condition: cured epoxy and proper prep. Compatibility does not excuse poor sanding, trapped moisture, contaminated surfaces, or bad prep work.
When DIY Fiberglass Repair Makes Sense and When to Call a Pro
Not every boat repair should happen in a garage or driveway. DIY fiberglass repair usually makes sense when the damage is small, easy to reach, dry, and clearly limited to one area. Think dock rash, small chips, shallow gouges, or non-structural cracks away from high-load sections (the minor stuff). That’s usually a good fit for doing it yourself.
A pro is the better choice if the damage reaches the hull below the waterline, stringers, transom, core, or larger sections of laminate. The same goes for collision damage, recurring cracks, and soft spots that can point to hidden moisture (that’s a red flag). Repairs like that may involve more difficult grinding patterns, core replacement, and structural layup schedules. It’s more involved than a basic patch.
Repair know-how also matters more now because the boat repairing market is valued at $8.11 billion in 2025 and $8.79 billion in 2026, with an 8.4% growth rate during that period. As boats get older and maintenance needs go up, more owners are trying to find the right balance between practical DIY work and professional help when safety, structure, or long-term durability are involved.
For many boaters, a mix of both makes the most sense: handle inspection, cleaning, light sanding, or cosmetic work yourself, then call in an expert for anything that affects safety or hull integrity (and don’t guess if you’re unsure).
Smart Tools and Shop Habits for Better Fiberglass Repair Results
You do not need a huge marine workshop for basic fiberglass repair, but a clean setup and regular habits can make a big difference. Keep separate sandpaper grits, clean mixing cups, spreaders, masking tape, acetone for cleanup where it fits, labeled gloves, and your cloth laid out before you start. That usually saves more time than people expect. Pre-cut the cloth before mixing resin, and dry-fit everything once too. Small steps like that cut waste and make the whole job feel less stressful.
A basic repair kit should include resin and hardener, fiberglass cloth, filler, mixing sticks, sanding blocks, and finishing supplies. Good lighting helps more than most people think. Low spots and pinholes are easy to miss until the final coat, and then they show up right when the surface looks finished, which is always frustrating.
It also helps to look beyond the patch itself. Nearby hardware, seals, and impact areas are worth checking too. Damage on a repaired hull or deck may have started with a loose cleat, a trailer problem, or repeated contact with the dock. Fixing the cause along with the symptom can stop the same issue from coming back. Boat owners who stay on top of related maintenance often avoid bigger repair bills later, and the same idea applies to engines, steering, and propellers.
Frequently Asked Questions
Can I do fiberglass repair on my boat by myself?
Yes, many owners can handle minor fiberglass repair on chips, scratches, and small cracks. The key is good surface prep, full drying, and using the right materials. Structural damage, soft spots, or large below-waterline repairs are better left to a pro.
What is the difference between gelcoat and epoxy?
Gelcoat is mainly the outer finish layer. It is best for cosmetic touch-ups and restoring the look of the boat. Epoxy is stronger for bonding and structural fiberglass repair, especially when rebuilding damaged laminate.
How long does a fiberglass repair take to cure?
It depends on the product, temperature, and repair size. Some small repairs can be sanded the same day, while others need a full cure overnight or longer. Always follow the product instructions and avoid launching early.
How do I know if damage is structural?
Look for soft spots, deep cracks, flexing, moisture, spreading damage, or impact areas near the hull, transom, or stringers. If the damage changes the shape or stiffness of the panel, it is likely more than cosmetic. When in doubt, treat it as a safety issue.
What should be in a good fiberglass repair kit?
A useful kit usually includes resin, hardener, fiberglass cloth or mat, filler, mixing tools, gloves, and finishing materials. If you want dependable marine maintenance supplies in one place, First Choice Marine is a helpful example of a boating retailer that supports owners with repair and maintenance product categories.
Where can I learn more before starting my first repair?
Start with clear step-by-step guides focused on your repair type, such as hull damage, gelcoat repair, or laminate patching. You can also review boat maintenance resources from First Choice Marine alongside product information so you understand both the process and the materials before you begin.
Get Your Boat Back in Shape
DIY fiberglass repair is one of the handiest skills a boat owner can learn. It can save money on minor damage, stop small issues from turning into bigger ones, and make regular boat care feel a lot less stressful. The basics are pretty simple: check the damage honestly, use epoxy for strength and gelcoat for the finish, never skip prep, and always wear safety gear.
For small repairs, patience usually makes a big difference. Clean the area well, let everything dry all the way, sand it carefully, and build the repair one step at a time. If the damage reaches structural areas or goes below the waterline, stop and get help, because that’s not the kind of repair you want to guess your way through.
With the right tools, careful work, and a clear sense of your limits, fiberglass repair can feel doable instead of frustrating. Start with a small job and learn how the process works. Then the next chip or crack will be a lot less likely to feel intimidating.