


A good boat sealant does a lot more than stop leaks. It helps protect core materials, keeps hardware in place, lowers the risk of corrosion, and may save you from costly repairs later, which nobody wants. That matters if the boat is used for weekend fishing, daily work, or hands-on marine maintenance at home. The hard part is picking the right product. A row of tubes on the shelf can make it look like they all do the same job. They don’t.
The right boat sealant depends on where you’ll use it, how strong the bond needs to be, how much sun and water that spot gets, and whether the part may need to come off later. That last point can make a big difference. Not every sealant works for every job. A product that fits a deck fitting may be wrong for a hatch lens, a thru-hull, or a fast emergency repair. This guide covers the main sealant types, where each one usually works best, the common mistakes to avoid, and what newer trends mean for boat owners. If you want simple, trustworthy help with smarter maintenance choices, this is a clear place to start.
Why picking the right boat sealant matters
The wrong marine sealant can cause problems that stick around for years. A product that bonds too strongly can turn a later repair into a big teardown, and nobody wants that. Go too far the other way, and a sealant that is too weak, or not made for UV exposure, may fail early and let water into decks, hatches, fittings, and other exposed areas. That gets expensive fast. So boaters need to think first about the actual job, not just the brand printed on the tube.
Market data shows this category has been growing fast. Technavio reports that the marine sealants market will grow by USD 101.8 million from 2025 to 2030, with a 6.5% CAGR over that span. Roots Analysis values the global marine sealants market at USD 1.24 billion in 2026 and says it could reach USD 1.69 billion by 2030. The totals are not identical across sources, but the overall trend is clear. Marine sealing products are a big and growing part of boat maintenance and repair, which will not surprise anyone who has gone shopping for them lately.
| Metric | Value | Timeframe |
|---|---|---|
| Market growth | USD 101.8 million | 2025-2030 |
| CAGR | 6.5% | 2025-2030 |
| Market size | USD 1.24 billion | 2026 |
| Projected size | USD 1.69 billion | 2030 |
More growth has also meant more specialized products. Manufacturers now group sealants by permanent bonding, removable bedding, UV-exposed topside use, plastic-safe sealing, and fast-cure repairs. So there is no single best boat sealant for every job. The right choice depends on what needs to be sealed.
5200 is forever.
That line may be catchy, but the idea behind it is still worth keeping in mind: some products are made for very permanent bonds. Boat owners should think about that before using them on parts that may need service later, because that is an easy mistake to make.
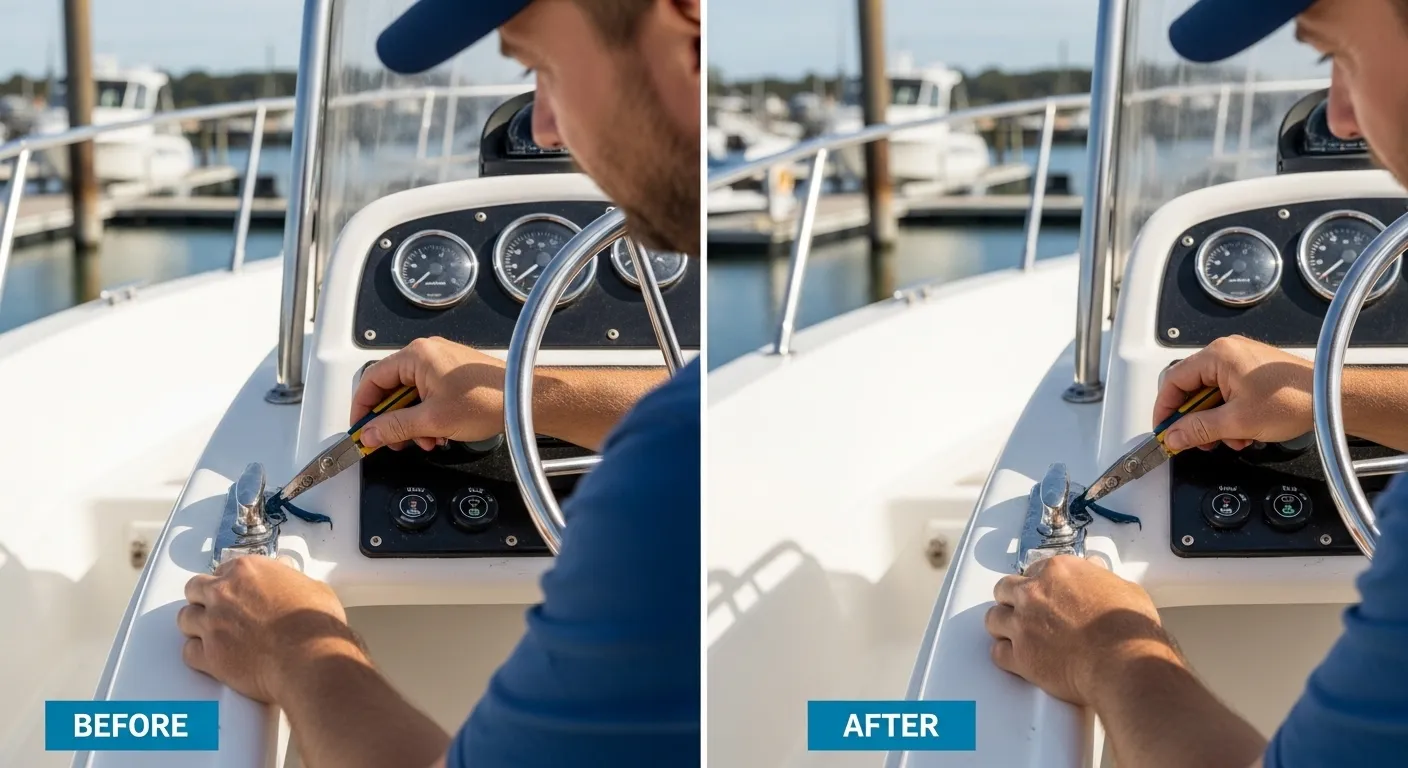
Understanding the main types of boat sealant
Most boat owners will come across four main types of sealant: polyurethane, polysulfide, silicone, and SMP or hybrid sealants. Each one has its own job, and it’s pretty simple.
Polyurethane
Polyurethane is popular for a few good reasons. It gives a strong bond, stays fairly flexible, and holds up well against seawater, which matters a lot in marine use. Recent market research also suggests polyurethane makes up about 38% of market revenue share in 2026, putting it ahead in this category. It’s a good option for sealing jobs and places that need serious holding power.
It works well for hardware or joints where strength matters most. Just be careful with serviceable parts. Some polyurethane products can be very hard to remove later, so they are not the best fit where future servicing is expected.
Polysulfide
Polysulfide works well as a bedding compound, and for good reason. It seals well and is easier to service than very aggressive polyurethane, so it’s a better choice for hardware that may need to come off later if it has to be removed.
Silicone
Silicone can work well for some non-structural jobs, especially where a little flex helps. But many boat owners avoid it on surfaces that might later need paint or other sealants. That concern is real. Silicone residue can cause adhesion problems later, which can be a hassle.
SMP or hybrid sealants
Hybrid formulas are getting more attention for a good reason: they offer strong UV resistance, easier paintability, less yellowing, and better compatibility with some plastics, which is a nice bonus. They work especially well on hatches, windows, and other visible topside areas where appearance tends to matter more.
Still, sealant alone will not be enough if the repair involves cracks or deeper structural damage. In those cases, a repair material is usually the better choice. That’s covered in this guide on Marine Epoxy for Boat Repairs: When to Use It, Where It Fails, and How to Get Long-Lasting Results.
Match the sealant to the job on your boat
Picking a boat sealant gets a lot easier if you start with four questions. Is the area above or below the waterline? Will it sit in strong sun? Is the surface plastic, metal, or fiberglass? And will you want to take it off later? Those four points narrow your options quickly and save time.
For deck hardware, many boat owners choose a bedding-style sealant that keeps water out but still lets the part come off later. For hatches and portlights, UV resistance matters, and so does compatibility with plastics, which people often miss. With thru-hulls and underwater fittings, the sealant needs to be rated for that kind of use and applied very carefully. For quick repairs, a fast-cure product can help, but only if it really fits the repair.
3M, for example, sells four 5200 cure-speed variants: Fast Cure, Standard Cure, and Super Strength. It’s a small detail, but it shows something practical. Sealants are now marketed more by specific use than as broad general-purpose products.
So a simple step-by-step approach helps:
Step 1: Identify the material
Fiberglass, aluminum, stainless steel, acrylic, and polycarbonate all react in different ways, which matters. Some plastics also need extra care, so don’t rush.
Step 2: Decide if removal matters
If the fitting might need service later, avoid very permanent bonding products, they’re hard to remove, unless the manufacturer clearly says to use them.
Step 3: Check exposure
For UV-heavy topside jobs, hybrid or UV-stable formulas last better. It’s a simple fix, and you can tell.
Step 4: Review cure time
Cure time really depends on temperature and humidity. BoatLIFE technical guidance says it can vary a lot based on conditions, so wait until the sealant is fully cured before painting.
Common mistakes that lead to leaks and failed repairs
Many sealant failures come back to basic setup mistakes, not a bad product. One common issue is picking a strong adhesive sealant when a removable bedding compound would have been the better choice. Surface prep also causes lots of problems. Dirt, wax, old residue, moisture, and loose material can all weaken the seal, and those small details are easy to miss.
Rushing cure time is another common problem. Applied Adhesives technical guidance stresses ventilation, PPE, and regular checks for cracking, peeling, or separation. Even a bead that looks clean can fail if the surface moves before curing is done. Sometimes just a little movement is enough to create a leak.
Here are common problems to avoid:
- Applying sealant to damp or dirty surfaces
- Using silicone where paintability or future adhesion matters
- Overtightening hardware right away so too much sealant gets squeezed out
- Ignoring UV exposure on topside areas
- Sealing plastic parts with a product that may damage them
- Missing old bedding issues around portlights and hardware during inspection
Practical Sailor notes that marine caulks can last for years, but they still need regular maintenance. That applies to both recreational and commercial boaters. A seal that looked fine last season may now be cracked, dried out, or starting to pull apart. Once that happens, leaks can show up fast, especially in spots that seemed solid before.
If a larger rigging update is already on the schedule, related ideas are covered in 2026’s Smartest Boating Trends: Rigging Your Boat for the Future and articles on rigging your boat for the future.
New boat sealant trends boat owners should watch
Marine sealants are shifting toward more specialized, lower-emission products. One clear change is the rise of low-VOC formulations as rules get tighter in some markets. Sika AG, for example, has expanded its marine polyurethane range with more focus on low-VOC compliance, which points to where the category is going.
Another trend is the wider use of SMP and hybrid sealants. These are often chosen for visible topside areas because they usually resist yellowing better over time. They can also be easier to remove later than more permanent polyurethane, which helps during repairs or upgrades. That makes them a practical choice for modern fishing boats and family cruisers that have more plastics, windows, and accessory mounts.
Product labeling is also getting more specific, and that helps DIY users cut down on guesswork. Instead of relying on a one-size-fits-all tube, more sealants are now clearly labeled for jobs like windows, deck fittings, below-waterline applications, and fast-cure repairs. For boat owners comparing options, that makes the choice a bit more straightforward.
Boat owners upgrading other systems at the same time may also want to review 2026 Fishing Boats: The Latest Innovations Redefining Angling, especially for ideas involving modern layouts, accessories, and mounting points that often require careful sealing.
How to apply boat sealant the right way
Even the best boat sealant can have trouble if the job gets rushed. A clean, simple process usually leads to better results and saves a lot of frustration.
First, remove the old sealant completely. Clean the surface well and let it dry all the way. Before opening the tube, dry-fit the part so you know exactly how it should sit. Then apply an even bead and install the hardware with regular pressure. Try not to press all the sealant out of the joint. Many leaks start because there is barely any material left between the surfaces, and fixing that later is a real hassle.
Gloves, eye protection, and good ventilation are all good to have from the start. If the product calls for a primer, do not skip it. Weather matters too, because temperature and humidity affect both working time and cure speed. Once the part is installed, check the squeeze-out, clean it up carefully, and then leave the joint alone for as long as the product says. Waiting can be the hardest part, but it usually pays off.
For boat owners who like comparing maintenance options and picking up marine care items in one place, First Choice Marine can be a helpful resource for broader boating upkeep, including adhesives, sealants, electrical supplies, and engine care products.
Sealants also work with other systems. If the project includes sealing around wiring pass-throughs or adding accessories, it helps to plan ahead for power equipment too. That is covered here in this guide to Battery Chargers for Boats: How to Size and Install for Long Life for projects that involve onboard electrical work.
Frequently Asked Questions
What is the best boat sealant for deck hardware?
It depends on whether you want a permanent bond or a removable seal. For many deck fittings, a bedding-style product that seals well but still allows future service is often the better choice. Very aggressive polyurethane can be too permanent for parts that may need removal.
Can I use household silicone on my boat?
It is usually not the best choice for most marine jobs. Household silicone may not handle the marine environment well, and silicone residue can create problems if you ever need to paint or reseal the area with another product.
How long does boat sealant take to cure?
Cure time varies by product and by weather. Temperature and humidity can change cure speed a lot, so always check the label. Fast-cure options exist, but even those still need proper surface prep and enough time before the joint is stressed.
What is the difference between sealant, bedding compound, and adhesive?
A sealant mainly blocks water and air. A bedding compound seals while still allowing future removal in many cases. An adhesive sealant both seals and bonds strongly, which can be great for some jobs but a headache for later repairs.
Where can I compare marine maintenance products for sealing jobs?
A practical starting point is a marine-focused retailer that also covers related maintenance categories, since sealant jobs often connect to hardware, electrical, and cleaning supplies. First Choice Marine is one example of a boating resource where owners can explore those connected product areas while planning a repair.
Should I inspect old sealant every season?
Yes. At least once a season, check hardware bases, hatches, windows, and other sealed areas for cracking, peeling, gaps, or movement. Small failures are much easier and cheaper to fix before they turn into deck core damage or interior leaks.
The bottom line for smarter sealing
Choosing the right boat sealant mostly comes down to matching the chemistry to the job. Polyurethane is tough and lasts a long time, but for parts that may need service later, it can be a bit too permanent and become a real headache. Polysulfide is a reliable middle-ground option for bedding. Silicone only makes sense in a small number of marine situations. Hybrid and SMP sealants are also becoming more common because they handle UV well, can be painted, and work well with plastics.
Better results usually come from taking a moment to think through the repair before you start. Before you open the tube, know what material you’re working with, how much exposure the area gets, and whether the part may need to come off later. Then prepare the surface carefully, follow the cure-time directions, and check the area over time. That helps prevent leaks, protect the boat, and save money.
Planning the next maintenance job? This guide can serve as a checklist before buying. A little extra care at the start can make the difference between a clean, lasting seal and a repair that has to be done all over again.
