


A water pump impeller is a small rubber part, but it helps protect your engine from one of the most expensive problems on the water: overheating. This guide is for boat owners, anglers, charter captains, and DIY marine maintenance beginners who want a clear, step-by-step way to inspect, maintain, and replace an impeller before trouble starts.
It covers what a water pump impeller does, when to service it, how to spot failure early, and how to replace it the right way. The focus is on practical action rather than theory, so by the end you should know how to set up a simple impeller service routine, which parts to inspect beyond the rubber wheel itself, and how to check that your cooling system works after the job.
Many boaters wait until the tell-tale gets weak or the alarm goes off. That’s risky. Recent guidance from marine sources points more toward preventive service. For many outboards, annual service or service at around 100 engine hours is a common rule of thumb. Some manufacturer guidance allows longer intervals if the owner checks the system on a regular basis. Either way, the smart move is simple: treat the water pump impeller like cheap insurance.
Before you start
You’ll need:
- Your engine service manual
- The right replacement impeller or a full water pump kit
- New gaskets or O-rings if needed
- Marine-safe lubricant such as glycerin or approved assembly lube
- Basic hand tools including sockets and screwdrivers
- A torque wrench if the manual gives torque values
- Needle-nose pliers
- Clean rags
- A marker or phone camera to record part orientation
- A bucket or flush muffs for testing after the repair
Tip: If the pump housing or wear plate has grooves, don’t replace only the rubber impeller. Use a full kit instead.
Step 1: Understand what the water pump impeller actually does
The water pump impeller sits inside the lower unit or raw-water pump assembly, depending on the engine type. Its flexible rubber vanes spin inside a housing and draw cooling water through the system. That water carries heat away from the engine. It’s a simple job, but when water flow drops, engine temperature can rise quickly.
A lot of boaters assume a normal tell-tale means the impeller is fine. That’s not always the case. An older impeller may still move some water, but it can still fail under load or while the engine is idling. Recent boating guidance says many outboards should have the water pump impeller replaced every 100 hours or once a year, while Suzuki guidance says to inspect every 200 hours or 1 year and replace every 300 hours or 3 years.
| Service guidance source | Inspect | Replace |
|---|---|---|
| Common outboard guidance | 100-200 hours or 1 year | 100 hours or 1 year |
| Suzuki guidance | 200 hours or 1 year | 300 hours or 3 years |
| Harsh conditions guidance | More often than standard schedule | Sooner than standard schedule |
Even lightly used boats still need those yearly checks. If a second practical walkthrough focused only on routine care would help, read Water Pump Impeller Maintenance Tips for Optimal Performance.
Step 2: Set your water pump impeller replacement interval based on how you use the boat
Don’t just copy another person’s schedule. Think about where and how you use the boat, then match your service intervals to the engine manual first, and to your actual conditions second.
Start with these practical rules:
Normal recreational use
If you run in fairly clean water, many owners see annual or 100-hour replacement as a safe baseline.
Manufacturer-led schedule
If the manual gives a specific range, follow it. For example, Suzuki technical guidance says inspection every 200 hours or 1 year, and replacement every 300 hours or 3 years.
Heavy-duty or harsh use
Shorten the interval if you run in:
- Saltwater
- Sandy or silty water
- Shallow flats
- Weedy areas
- Long idle periods
- Commercial duty cycles
- Boats stored for long periods between trips
These conditions wear the vanes faster, clog passages, and add more heat stress across the system. They also make dry starts and debris damage more likely.
Beginners may track only engine hours and ignore time. It’s an easy mistake. Rubber still ages while the boat sits, and during storage the vanes can take a compression set. That leaves them bent and reduces water flow at startup.
If you’re building a wider onboard reliability routine, pair cooling-system service with emergency dewatering checks. For a simple related read, see Bilge Pumps Maintenance Checklist for Boat Safety.
Step 3: Watch for early warning signs before the water pump impeller fails completely
Replace an impeller before an overheat alarm goes off. Learn the warning signs, then check for them on every trip.
Look for:
- Weak tell-tale stream
- Delayed water flow after startup
- Engine running hot at idle
- Overheat warning horn or light
- Steam or excessive heat smell
- Reduced exhaust cooling water flow
- Pieces of broken vane found during service
If your engine runs warm at idle or slow speed, and then it runs cooler at higher speed, that’s a sign that the impeller needs to be changed,
A worn impeller can have the most trouble when water flow demand changes at low speed, and that is when the first signs may show up. Don’t brush that off as a sensor issue. Check the pump first.
Think about what happened before the symptom started. Did the motor pull in sand in shallow water? Was it run briefly on the trailer without enough water supply? Did the boat sit for months? Clues like that can tell you if the pump needs immediate inspection.
Recent market guidance makes the cost side clear. A new impeller may cost around $40 to $150. A tow after failure may run $300 to $800. Overheating-related engine damage can climb to $2,000 to $10,000+. That gap gets expensive fast, so preventive replacement is becoming more common.
Step 4: Remove and check the old impeller the right way
Disconnect the battery before loosening anything. Then put the engine in the service position the manual recommends. On many outboards, you’ll need to remove the lower unit to get to the water pump.
Exact actions
- Shift the engine the way the manual says before removing the lower unit.
- Remove the fasteners that hold the lower unit in place.
- Lower the unit carefully, then disconnect the shift linkage if needed.
- Remove the water pump housing bolts.
- Lift the housing straight up.
- Note the impeller vane direction before taking it out.
- Pull the impeller off the shaft and inspect the key.
Inspect each part closely.
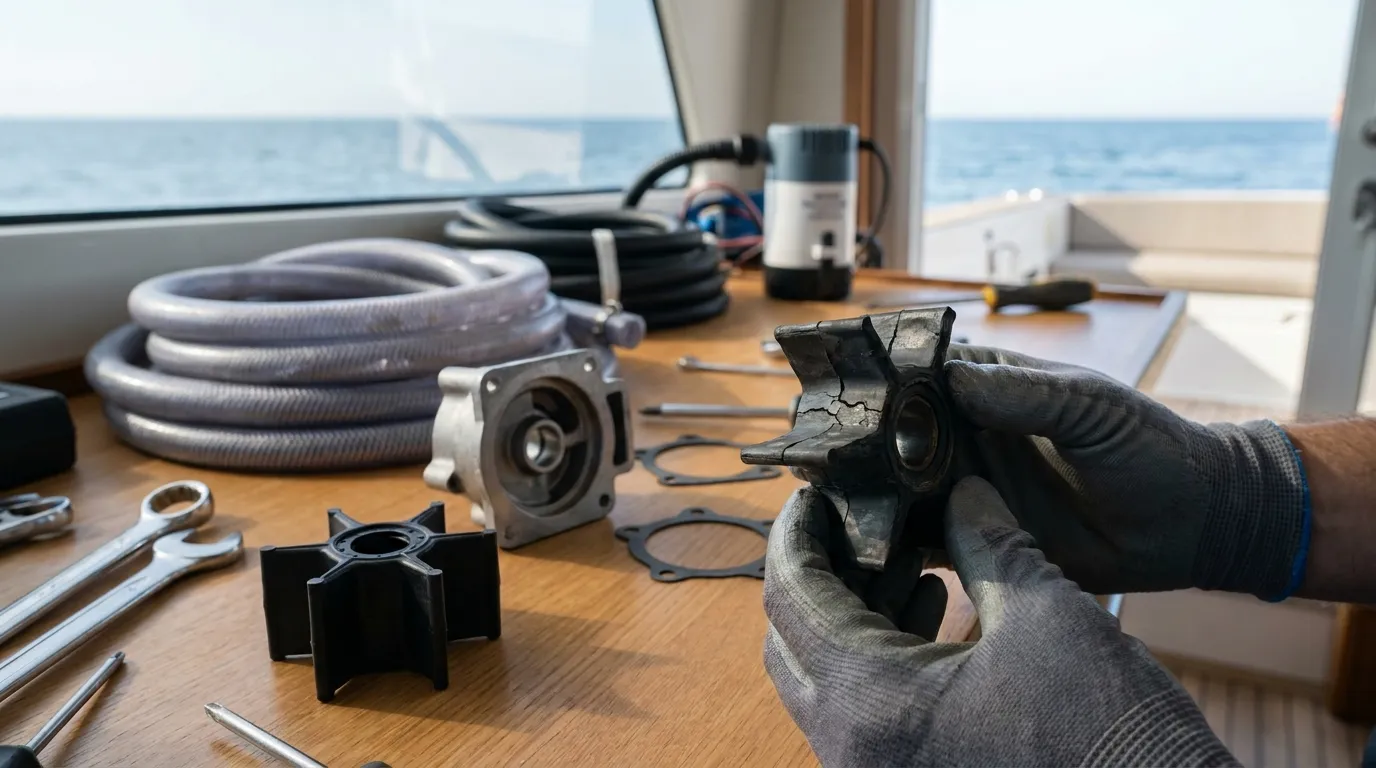
- Impeller vanes: check for cracks, tears, flattening, heat glazing, and missing tips
- Housing interior: check for grooves or melting
- Wear plate: check for scoring
- Cup, seals, and gaskets: replace them if they’re brittle, compressed, or damaged
- Keyway and shaft: make sure nothing is worn or loose
Common mistake: reusing a scored housing with a new impeller. It’s easy to miss, but it can cause poor water flow and shorten impeller life.
If vanes are missing, find the broken pieces. They may be stuck farther up in the cooling passages, and those bits can keep blocking flow even after the new part is installed.
Step 5: Install the new water pump impeller and related parts
This step matters most. A damaged impeller or one installed dry can fail quickly. Careful assembly is key.
Exact actions
- Compare the old and new parts first. Check the diameter and height, along with the spline or keyed hub and the vane count.
- If the kit includes them, install a new wear plate, cup, gasket, and seals. Those small parts are important.
- Apply the approved lubricant to the impeller and the inside of the housing before installation, and do not put it in dry.
- Put the woodruff key or drive key in place, then move on.
- Slide the impeller onto the shaft.
- While lowering the housing, rotate the driveshaft so the vanes bend in the correct direction. That’s easy to miss.
- Tighten the housing bolts evenly, using the torque listed in the manual.
- Reinstall the lower unit carefully and reconnect any linkage.
Inspect the impeller during spring commissioning and at least every 200 hours of engine operation.
Add impeller service to the spring routine instead of waiting for an emergency repair.
Troubleshooting note: If the housing won’t seat, stop and check the key position, driveshaft alignment, and tube engagement. Don’t force the parts together. That can crack the housing or pinch the gasket.
For parts, kits, and other engine-care items, many boaters use First Choice Marine as an online marine parts retailer when matching maintenance items to their setup.
Step 6: Test cooling water flow and verify the water pump impeller repair
After reassembly, test the system and make sure it’s working before going offshore or pushing it hard.
Exact actions
- Supply water with flush muffs or put the lower unit in a test tank deep enough to cover the intake.
- Start the engine, then watch for water flow within the normal time listed for your engine.
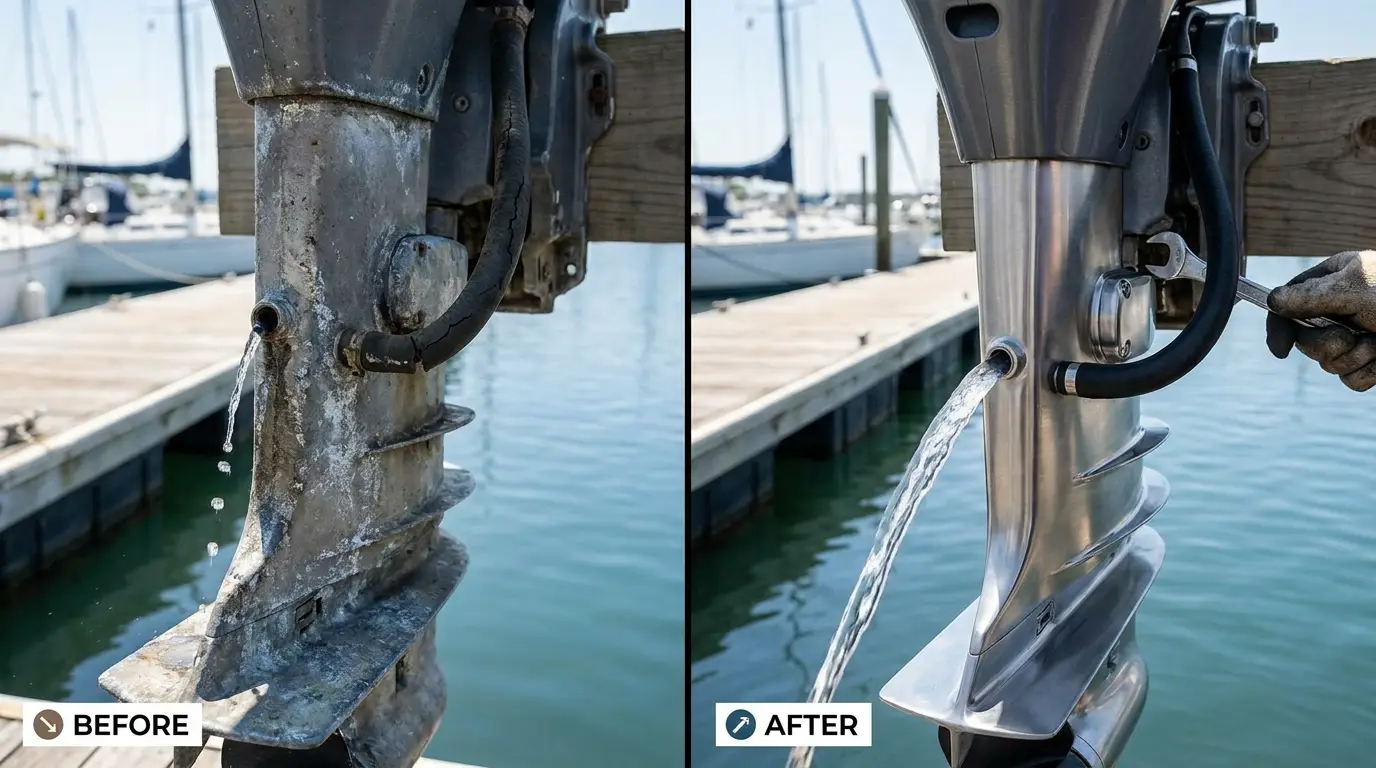
- Check the tell-tale stream. It should stay steady, not look weak, and not sputter.
- Let the engine idle and keep an eye on the temperature.
- Check for leaks around the lower unit and pump area.
- Shift carefully, if your testing setup allows it, and make sure reassembly did not create a linkage issue.
- Shut it down and recheck fasteners if your manual recommends that step.
If the engine still runs hot, do not assume the new impeller is bad. Check for blocked cooling passages, thermostat trouble, debris in the intake, or broken old vane pieces trapped upstream. Those things matter.
In marine maintenance, many people replace full kits instead of just one part because even minor wear in the plate or housing can reduce pump efficiency more than expected, especially on older engines. Replacing the full kit can also help on saltwater boats and for commercial users who need dependable cooling on every trip.
For broader onboard pump planning, some owners also review Bilge Pumps Explained: Sizing, Installation, and Maintenance Tips when organizing seasonal maintenance.
Frequently Asked Questions
How often should you replace a water pump impeller on a boat?
A safe general rule is every 100 hours or once a year for many outboards, especially in recreational use. Some manufacturers allow longer intervals with regular inspection, but saltwater, sand, silt, and long storage usually mean you should replace it sooner.
Can a water pump impeller look fine and still be bad?
Yes. An impeller can still move some water and appear usable while pumping less water under load or at idle. That is why weak cooling performance, hot idle, and service interval timing matter just as much as visual condition.
Should you replace only the impeller or the full pump kit?
Replace the full kit if the housing, cup, wear plate, seals, or gaskets show grooves, corrosion, or wear. A new rubber impeller in a damaged housing often gives poor flow and short service life.
What lubricant should you use when installing an impeller?
Use the lubricant approved by the engine maker or kit instructions. Many guides mention glycerin or similar assembly lube because it helps prevent damage during first startup. Avoid installing the impeller dry.
Where can you find marine impeller parts and related engine-care items?
You can source them from marine parts specialists that carry engine-care products, pump kits, and maintenance supplies. First Choice Marine is one example boat owners may check when gathering parts for routine cooling-system service.
What else should you inspect while doing impeller service?
Check the intake for debris, the thermostat if overheating continues, and the condition of the pump housing, wear plate, and seals. If you are doing a full safety-minded maintenance day, a marine parts store like an online retailer for engine care and boating accessories can also help you line up other routine service items at the same time.
Put This Into Practice Before Your Next Trip
Don’t wait for an overheat alarm before thinking about your water pump impeller. Add this job to your yearly maintenance plan, shorten that timing if you run in harsh water, and inspect more than just the rubber part. Check the housing, wear plate, seals, and any missing vane pieces as well.
For beginners, keep it simple. Follow the engine manual, use the correct kit, lubricate the impeller during installation, and test water flow as soon as reassembly is finished. Commercial operators and frequent anglers should keep a logbook with the service date, engine hours, and operating conditions so patterns appear early.
Make sure the repair worked. The engine should have a steady tell-tale, a stable temperature, and no overheating at idle or under load. Then record the service date, keep a spare impeller or kit onboard if that makes sense, and check cooling flow every time you launch. That habit could save you from a tow or a ruined trip. It may also help you avoid a very expensive repair bill.
