


A good paint job on a boat usually does not fail because of the paint alone. More often, issues come up because the wrong boat paint supplies were used, the surface prep was poor, or the tools just did not fit the job, which happens pretty often. That is why smart boat owners often treat painting like a complete system instead of focusing on one product. Cleaning products, sanding gear, masking supplies, primers, and the right applicators all need to work together.
For DIY boat paint application, that matters even more. A weekend boater may want a clean finish that lasts through sun, spray, and winter storage. A commercial operator is often looking for less downtime and an easier process from prep to final coat. A fishing hobbyist may want a boat that looks good and is easier to wash down and maintain. In every case, the basics stay the same: good surface prep for boat painting, careful masking, and the right marine paint rollers and brushes, nothing fancy, just the right fit.
This guide walks through the full process in simple terms. It covers the main marine paint supplies you need, how to prep gelcoat and painted surfaces, how to choose boat painting tools, and the results you can expect. Simple stuff, clearly explained. So if you want fewer mistakes and a finish that lasts, this is a good place to start.
What Counts as Boat Paint Supplies?
When people shop for boat paint supplies, they often look at the paint can first. But that is usually just one part of the job. Most solid projects need a full set of marine paint supplies: cleaner or degreaser, abrasives, fillers, primer, masking tape, rollers and brushes, trays, mixing sticks, gloves, and breathing protection (basically, the whole setup). That part is easy to miss, especially for anyone who has not done this kind of work before.
Based on boating and marine maintenance sources in current research, prep usually starts with washing, then repairs, then sanding. Early prep sanding often falls in the 80 to 120 grit range. Before finish coats, finer sanding is often closer to 320 grit. A lot of marine paint jobs also need 2 to 3 coats for proper coverage, which is a pretty normal range.
| Supply Type | Typical Use | Common Detail |
|---|---|---|
| Cleaner/degreaser | Remove salt, wax, grease | Used before sanding or priming |
| Abrasives | Create adhesion and smooth repairs | 80-120 grit first, around 320 grit later |
| Applicators | Spread paint evenly | Rollers for broad areas, brushes for edges |
| Masking materials | Protect fittings and sharp lines | Tape, paper, and masking film |
| Primer/barrier coat | Improve bond and protection | Often needed on repaired or bare areas |
That table helps explain why skipping a step can cause problems later. If the hull is still greasy, sanding may spread contamination around instead of removing it. If masking gets skipped, the edges can come out rough along the taped lines. And with the wrong roller, the finish may look uneven across the hull surface. Because of that, many owners use support guides like Boat Bottom Paint: Best Practices for Application and Maintenance when planning work below the waterline, especially before they start.
Surface Prep for Boat Painting Makes or Breaks the Finish
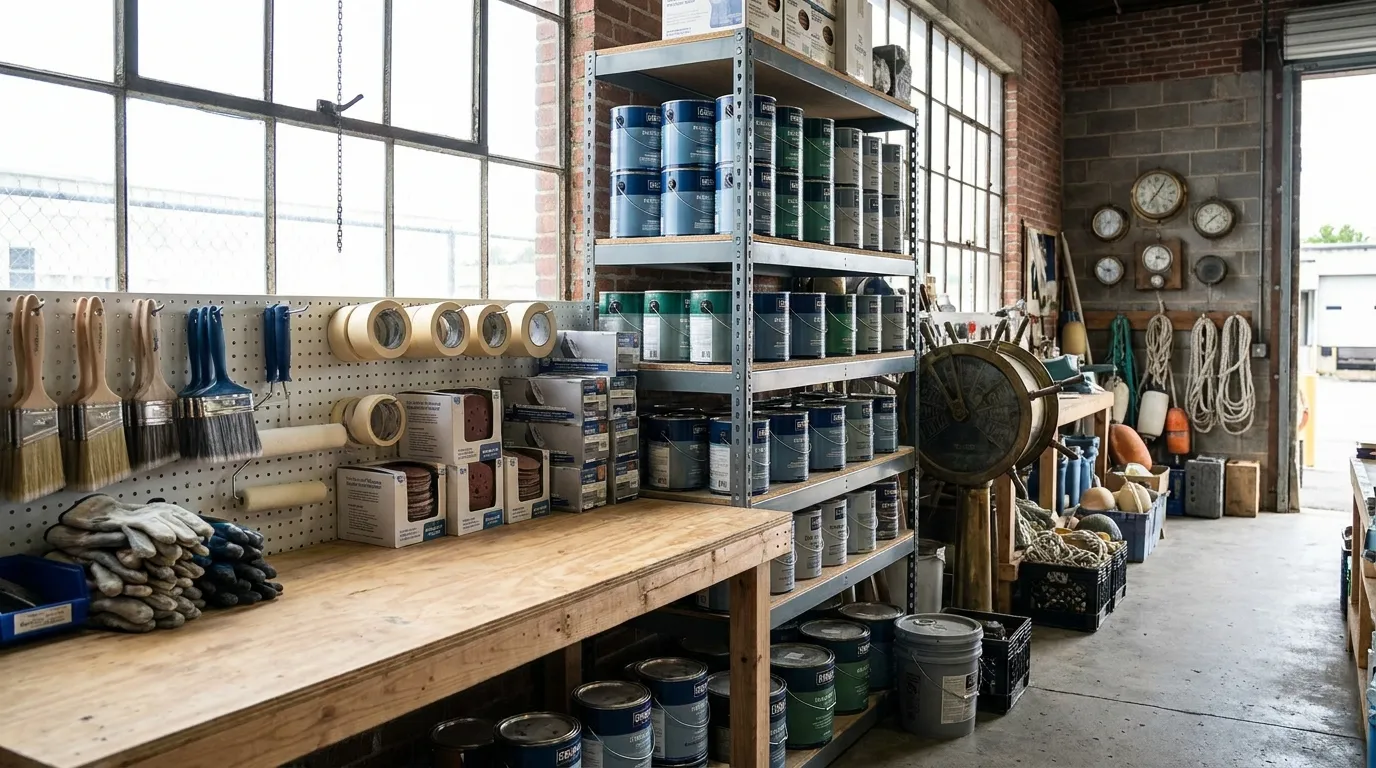
The most important step in any paint job is surface prep for boat painting. Paint usually sticks best to a clean, dull, dry, solid surface (pretty basic, but easy to miss). It often won’t bond well to wax, salt film, loose old paint, or glossy gelcoat, and that’s usually where problems start.
Clean the surface thoroughly to remove dirt, grease, and salt residue. Use a high-quality boat soap or cleaner/degreaser and rinse thoroughly.
That advice sounds simple, but it can save you from a lot of wasted work. First, wash the area really well. After that, check it in bright light, since sunlight or a strong work light helps a lot. You’ll want to look for chips, cracks, blisters, gouges, and any peeling edges. Those small issues often show up again later if they’re ignored. Any damage should be fixed before the topcoat goes on, so problems don’t get sealed underneath.
Here is a simple prep order for most DIY boat paint application projects:
1. Wash and degrease
Remove salt, grime, oil, and wax (the obvious stuff), then let the surface dry completely (you’ll probably want it fully dry).
2. Repair damage
Fill chips or gouges with the right filler or fairing compound; that’s usually the best fix, and it helps a lot.
3. Sand in stages
Start with coarser paper on old coatings or repaired spots first, since it usually works better. Then switch to finer paper to smooth things out. Keep a slow, steady pace.
4. Remove dust
Vacuum and wipe it down, pretty simple. Then use a tack method that works with your paint system.
5. Prime where needed
Bare spots, repairs, or some gelcoat surfaces will likely need primer or epoxy.
If you’re working on faded hulls or older topsides, this is also the point where cleaning tools can really help, especially before sanding. They can make a real difference here. This came up in Boat Cleaning Tools Reviewed: What Actually Saves Time, Protects Gelcoat, and Delivers Pro-Level Results, especially when chalky buildup needs to be cleaned off before sanding.
Choosing Boat Painting Tools for Smooth, Even Coverage
The best boat painting tools depend on the surface, the kind of paint, and the finish you want. For most boat owners, brushes and rollers are still the main options. Spray can also work really well when the setup is available, but it usually takes more skill, closer control, and more equipment, including spray gear, masking, and ventilation. Because of that, many DIY users will find roller application or the roll-and-tip method to be the safer choice.
Rollers are usually a better choice for large, smooth areas like topsides, cabin sides, or wide hull panels. They cover quickly and help keep the paint thickness more even across broad sections. Brushes are more useful around corners, fittings, seams, and other tight or awkward areas. They also work well for small spots. And right after rolling, they’re often used for ‘tipping’, which helps level the paint, reduce roller texture, and lets the surface dry more smoothly.
Epoxy offers excellent water and corrosion resistance, which are especially important for the hull’s sides and bottom.
That also applies when choosing both the paint and the tools used to apply it. Heavier coatings and epoxy systems often need roller covers and brushes that can handle solvents and thicker material. Nothing fancy, just the right match for the job.
Common mistakes with marine paint rollers and brushes include cheap covers that shed, putting too much paint on the roller, brushing back into paint that has already started to set, and using the same tool for primer and finish without enough care. Better results often come from working in smaller sections, keeping a steady overlap, and watching temperature and humidity closely. In practice, that simple approach will usually help create a smoother, more even finish.
Masking, Gelcoat Prep Supplies, and the Small Details That Show
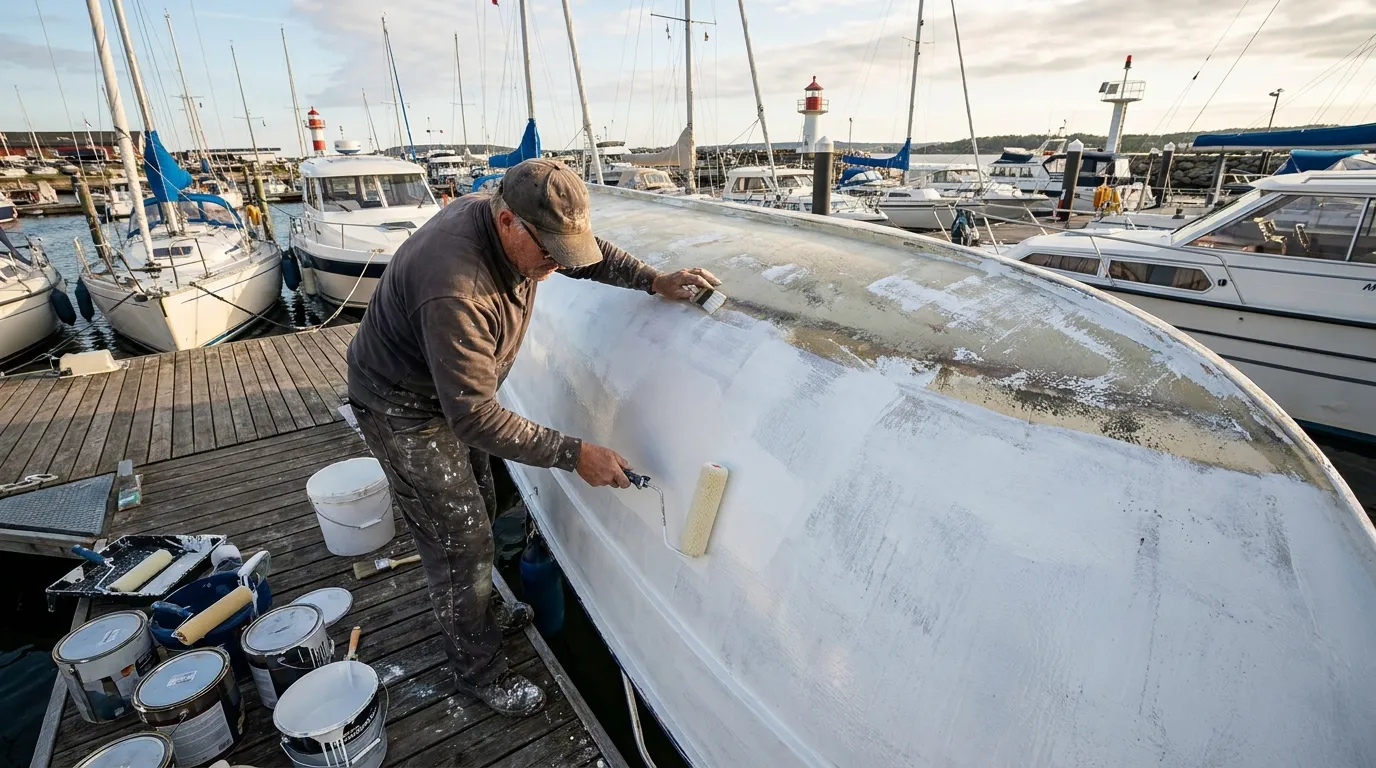
A lot of average paint jobs get spoiled by messy edges, and that’s usually where boat paint masking materials make the biggest difference. Good masking tape, along with masking paper or film, helps protect hardware, rub rails, trim, lights, and nearby surfaces like the hull and deck edges, which is often where splatter shows up first. It also gives you the clean, sharp lines that make a DIY job look much more professional.
One useful approach is to use marine-grade or paint-grade tape that fits both the surface and the cure time you expect. Press the edges down well, but avoid pulling the tape too tightly around curves, since it often lifts later when that happens. It sounds small, but in this situation it really shows. You will usually want to mask off more area than seems necessary. Paint drips and sanding dust can travel farther than expected, and most people do not catch every bit before it lands somewhere visible.
Gelcoat prep supplies need the same level of attention. Gelcoat may look solid at first glance and still hide oxidation, fine cracking, or contamination. Before painting over gelcoat, clean it thoroughly, de-wax it if needed, sand it so the paint can bond, repair any damage, and then use the right primer if your paint system calls for one. With older fiberglass boats, this part often takes longer than the painting itself, and that is pretty normal.
A common success story is simple: the owner spends a full day washing, sanding, and masking, then comes back for a shorter painting day. In many cases, that finish comes out smoother and lasts longer than a rushed one-day job. A common failure starts with paint going over chalky gelcoat, then the tape comes off too late and the edges tear or lift, leading to extra cleanup and touch-up work.
If the goal is long-term protection below the waterline, it also helps to compare systems and think through the environmental tradeoffs in Anti-Fouling Paint Selection and Application: Balancing Performance with Eco-Friendly Options.
What Good Results Actually Look Like
A good paint result is not just about shine. It usually comes down to adhesion, even color, the right thickness, and how well the coating holds up during use. Research shows that modern exterior marine coatings may have a dry-film thickness of around 2.5 mils. Really tiny, honestly. For comparison, that is only a little thicker than a 2 mil human hair, and still much thinner than a 9 mil sheet of paper. When coatings go on that thin, there is usually not much room for messy technique.
So, in most cases, boat owners should expect improvement rather than perfection. A DIY finish can still look excellent if it has clean lines, even gloss across the hull, no major sags, and solid coverage. In real use, a neat, durable job will often matter more than a flashy finish that starts chipping early. That usually lasts better over time and is often a lot less frustrating too.
For bottom paint, maintenance timing matters too. Boats kept in the water usually need more regular attention, while trailered boats often need less. Wear rates can depend on use, water conditions, storage, and coating type.
Bottom paint should be reapplied every one to three years for optimal protection.
That range gives owners a practical window for planning. If you fish hard, keep the boat berthed full time, or run commercial hours, inspect sooner. If the boat is lightly used and stored dry, the schedule may stretch longer depending on the system.
Trends in Marine Paint Supplies and DIY Application
Boat owners are still spending serious money on maintenance, and that keeps shaping the supply market. One verified industry figure says, ‘The U.S. recreational boating spending reaches $55.6bn in 2024.’ That likely helps explain why demand keeps rising for better marine paint supplies, safer products, and DIY systems that are easier to use.
Coating development is another clear trend. Market researchers reported that the global marine coatings market was valued at $1.10 billion in 2025 and is expected to keep growing. In practical terms, antifouling is still a major segment, while environmental pressure usually pushes manufacturers toward lower-VOC and more eco-aware options, which many buyers are seeing more often.
For boat owners, that leads to a few real changes. More user-friendly products are appearing on the market, but compatibility matters more now because newer systems can have stricter prep requirements and tighter recoat rules. It often helps to buy supplies from a knowledgeable marine parts source, especially when comparing primers, topcoats, and prep products. Retailers such as First Choice Marine fit that need by helping owners find maintenance products along with other practical marine gear.
DIY application is still popular too. For owners who want solid results without full spray equipment, rollers, brushes, and roll-and-tip methods usually remain the simplest option. The appeal is pretty simple: simple tools, less setup, and less hassle.
Frequently Asked Questions
What are the most important boat paint supplies for beginners?
Start with cleaner or degreaser, sandpaper, masking tape, primer if needed, paint, roller covers, brushes, trays, gloves, and a respirator. Those basics cover most small DIY boat paint application projects.
What grit should I use for surface prep for boat painting?
Many prep jobs begin around 80 to 120 grit for old paint, repairs, or rough surfaces. Finer sanding near 320 grit is often used before finish coats, depending on the paint system.
Are marine paint rollers and brushes better than spraying?
For many DIY users, yes. Rollers and brushes are easier to control, need less setup, and waste less paint. Spraying can look great, but it usually demands more skill and a better work area.
What masking materials should I use when painting a boat?
Use quality paint-grade masking tape, plus masking paper or film for larger areas. Good boat paint masking materials help protect trim, hardware, windows, and nearby surfaces from overspray, drips, and sanding dust.
How often should bottom paint be redone?
A common guideline is every one to three years, but the right timing depends on use, storage, water conditions, and the paint itself. Inspect the hull each season so you can catch wear before protection is lost.
Put the Right System Together
A nice-looking boat finish usually starts well before the paint can is opened. Boat paint supplies are easier to sort through when the process stays simple: clean the surface first, fix any damage, sand in steps, and mask carefully. After that, choose the right boat painting tools for the shape, size, and detailed parts of the job, since that step is easy to overlook. This kind of system will often lead to better results than buying a premium coating and rushing through prep.
If only a few things stick, these are the ones that matter most here. Surface prep for boat painting is probably the biggest part of getting a good result. Marine paint rollers and brushes need to match both the coating and the area being painted. Boat paint masking materials also make a real difference when clean lines matter around edges, trim, and hardware. Gelcoat prep supplies matter too, especially on older boats, where fiberglass often hides the real work in chalky spots, scratches, and worn areas.
Before the next project, make a checklist before buying anything. Write down the cleaner, abrasives, masking, primer, applicators, and safety gear you need. Then leave enough time for prep and curing. In most cases, DIY boat paint application has a much better chance of looking good and lasting longer this way. Smooth, well-prepped surfaces are also often easier to wash and touch up later.
