


A good paint job makes a boat look better and helps protect the hull. It can also cut drag and slow marine growth. Still, a lot of boat owners learn the hard way that buying paint alone is not enough. The final result depends just as much on the marine paint supplies used before the job starts, during the work, and after the paint goes on, and that is the part people often miss.
If you want to know how to paint a boat the right way, this guide explains it in simple terms. It covers the must-have boat paint supplies, the best bottom paint tools, practical boat prep supplies, and anti-fouling paint accessories that can help you avoid costly mistakes. That is true if the boat is a small fishing boat, a family cruiser, or a commercial workboat. Good prep and the right tools usually lead to an easier job and a better finish, with much less frustration along the way.
Paint choices matter even more now because the marine coatings market is growing fast. Buyers are paying closer attention to performance, cost, and cleaner options. This article gives a practical, trustworthy overview to help you shop smarter and paint with more confidence, with advice that stays clear, useful, and easy to follow.
Why the Right Marine Paint Supplies Matter
Boat owners sometimes focus on the paint can and miss the rest. But surface prep, mixing, masking, and application tools all play a real part in how well the coating sticks and how long it lasts. Research shows the marine coatings market will reach $5.83 billion in 2026, and another forecast says it could grow to $7.49 billion by 2030. That puts marine paint application firmly in the category of serious maintenance, not some small afterthought.
| Metric | Value | What it means for boat owners |
|---|---|---|
| Global marine coatings market | $5.83 billion in 2026 | More product choice and more need to buy smart |
| Projected market size | $7.49 billion by 2030 | Steady growth in maintenance and repaint demand |
| Anti-fouling share of market | 43.4% in 2026 | Bottom paint remains one of the most important categories |
| Boat maintenance and repair share | 52% | Refits and repainting drive real demand |
For most recreational and commercial boaters, bottom paint does more than change appearance. It helps protect speed, handling, and fuel efficiency by limiting growth on the hull. Anti-fouling paint accessories matter for that reason too, not just the paint itself. Careful prep has just as much effect, and the difference usually shows up in how the finish holds up over time.
The secret lies in a controlled chemical process that makes your hull an inhospitable surface for fouling organisms, effectively creating a protective shield that keeps your hull clean and smooth season after season.
For a more detailed overview of basic gear and prep steps, we covered that here: Boat Paint Supplies Explained: Tools, Prep, and Results.
What to Buy Before You Start with Marine Paint Supplies
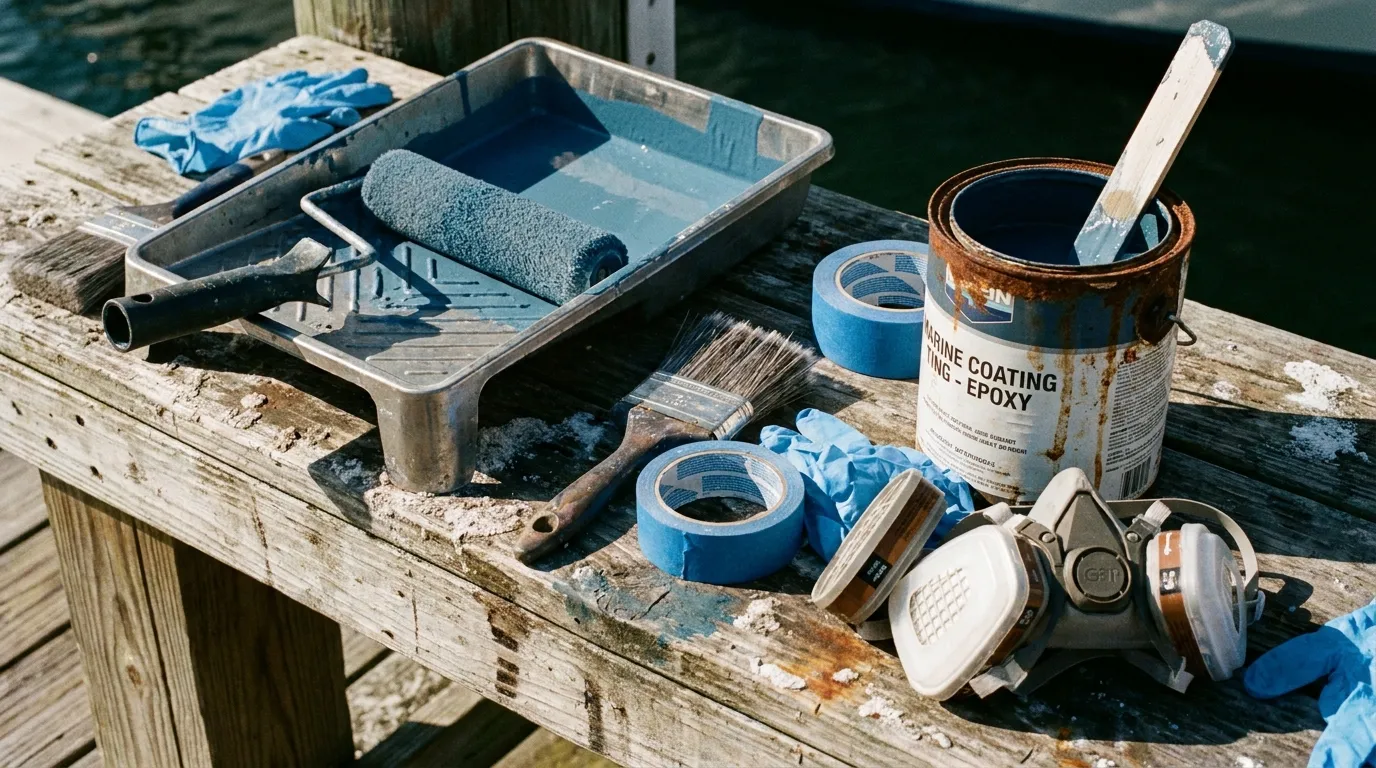
Boat painting tools usually fall into five groups: cleaning supplies, sanding tools, masking items, mixing gear, and application tools. Pick these up first, and the whole job will feel much easier from the start.
Surface prep supplies
Start with the wash-down gear. A pressure washer is handy if you have one, along with scrapers, sanding discs or paper, and wax remover or degreaser for the messy prep work. West Marine and JD Marine Paint both say the hull should be clean and dry before any sanding or painting begins. Even brand-new hulls can still have mold-release wax on the surface. Older hulls may also have loose paint, algae, and other buildup.
Masking and protection
Use marine-grade masking tape, plastic sheeting or paper, gloves, eye protection, and a proper respirator rated for paint fumes and sanding dust, which people often overlook. These boat prep supplies save time, help prevent a messy finish, and reduce cleanup too.
Mixing and application gear
You’ll also want paint stir sticks or a mixing paddle, solvent-safe trays or buckets, rollers made for bottom paint, brushes for edges and cut-in work, and extension poles for larger hulls, where they really help with bigger boats. Antifouling paint has heavy solids, so mix it well before use and keep mixing as you apply it.
How to Paint a Boat Step by Step Using Marine Paint Supplies
Wondering how to paint a boat without messing up adhesion? Follow a simple order, take your time, and the job usually goes better. Most paint failures come from poor prep, not the paint itself. Honestly, bad paint usually isn’t the main reason either.
1. Wash and inspect the hull
Clean off slime, salt, dirt, and any old growth, since it can build up fast. Then check for loose or blistered paint. Scrape those areas and note any spots that may need filler or repair before painting.
2. Remove wax and contamination
This matters most on newer boats. If wax or release agents are still on the hull, and yes, that happens, the paint will not stick well. Wipe the surface with the right prep solvent and use clean rags.
3. Sand for adhesion
Sand enough so the new coating can grip the surface. Use the grit level the paint maker recommends. Before the next step, vacuum or wipe away the dust so none is left behind.
4. Confirm paint compatibility
Before putting on a new coating, make sure it works with the old one. Some hard and ablative systems just don’t work well together. Without a barrier or primer coat, that can cause problems later.
5. Mask carefully
Mark the waterline. Protect fittings, trim tabs, and nearby surfaces. Good masking is one of the easiest boat painting tools, and it helps you get a cleaner result you’ll notice.
6. Stir the paint really well
Heavy copper and other solids can settle at the bottom of the can, and that’s normal. Stir until the paint looks evenly mixed, and if needed, keep stirring as you work so the color stays even.
7. Apply in sections
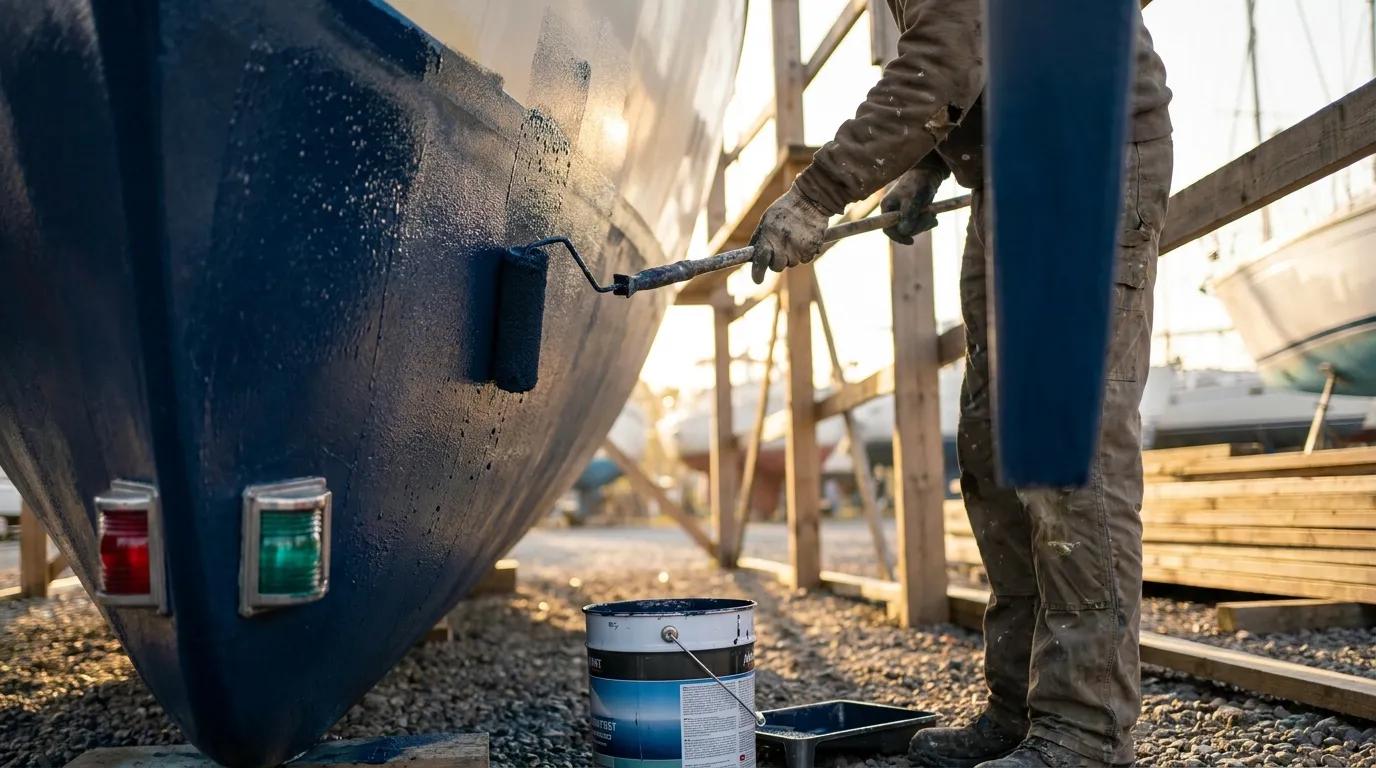
Roll the paint on in even, regular sections. Use brushes for corners, around through-hulls, and along the edges. Add an extra coat at high-wear spots like the waterline, keel, and rudder, since those areas get a lot of wear. For more bottom-specific tips, check Boat Bottom Paint: Best Practices for Application and Maintenance.
Bottom Paint Tools That Make the Job Easier
Some bottom paint tools save a lot more trouble than others. The right setup helps you work faster, waste less paint, and get a smoother coat. That matters even more if the boat is painted every season or if several boats need the same upkeep, since the time and material use can add up fast.
Take rollers. A basic household roller may shed fibers or struggle with thick antifouling paint. A solvent-resistant roller cover made for marine paint usually does the job much better. Brushes matter too, especially in tight spots. A good brush makes cut-in work easier around chines, intakes, struts, and other awkward areas where a roller just does not reach very well.
A sturdy mixing tool also earns its place. Heavy solids settle at the bottom of the can, and weak mixing can leave the first part too thin and the last part too thick. That can lead to uneven protection across the hull. JD Marine Paint also says extra paint should go on high-wear zones, so the brush and roller setup should make it easier to build better coverage anywhere the boat gets the most friction.
Most boat owners reapply antifouling paint annually, but the exact lifespan depends on the paint type, the number of coats applied, water conditions, and how often the boat is used.
That yearly routine is also a good reason to buy durable tools. They may cost more at checkout, but they can cut down on rework, keep the mess easier to handle, and save some hassle over time.
Choosing Anti-Fouling Paint Accessories and Marine Paint Supplies Types
After the basic boat paint supplies are covered, the next step is picking the right system. Many owners end up comparing ablative, hard, hybrid, and copper-free coatings. The best choice depends on how the boat is used, where it stays, and how much upkeep the owner is really willing to do.
Ablative paint wears away over time, exposing fresh biocide as it works. Hard paint leaves a tougher surface, so people often choose it for faster boats or boats that need regular cleaning. Hybrid options combine parts of both. And for boats kept in warm water or left in the water for long stretches, anti-fouling performance usually matters more.
Environmental pressure is also changing the market. More owners are looking at copper-free coatings, biocide-reduced formulas, and foul-release options. The shift is getting hard to ignore.
Representing the eco-friendly future of hull protection, biocide-free coatings do not release toxins.
No single product fits every boat. Before buying, owners should look at local water conditions, storage habits, and regulations. For anyone comparing cleaner options, Anti-Fouling Paint Selection and Application: Balancing Performance with Eco-Friendly Options goes into that topic in more detail.
Common Mistakes That Ruin a Marine Paint Supplies Project
Most DIY paint problems are pretty easy to spot ahead of time. Poor cleaning is often the first issue. Dirt, wax, and salt can stop paint from bonding, and that causes trouble fast. Poor sanding can do the same, especially if it’s done the wrong way. People also skip checking if the old paint and the new paint work together, which can lead to problems nobody wants.
Timing causes trouble for a lot of jobs too. Painting in bad weather can affect drying and curing in ways that may not show up right away. High humidity, wind, or direct heat can all cause issues, even if the surface looks fine at first. The label directions for temperature and launch windows are there for a reason.
Another common mistake is not mixing antifouling paint well enough. The heavy ingredients settle at the bottom, so a few quick stirs will not do the job. That leads to uneven protection. Many boat owners also put one thin coat over everything and miss the spots that wear out fastest. The waterline, leading edges, rudder, and keel all need extra attention.
To get more from boat prep supplies, it helps to slow down and follow the order: clean, inspect, prep, mask, stir, apply, and check coverage.
Smart Buying Tips for DIY and Commercial Boaters Using Marine Paint Supplies
Anyone who takes care of their own boat each year can save time by putting together a small paint kit that can be refilled as needed. Keep separate sanding tools, masking tape, a good mixer, solvent-safe trays, quality rollers, edge brushes, gloves, and a fresh supply of respirators nearby. Having those basics ready usually makes each repaint faster and much more consistent.
For commercial users and serious anglers, downtime is often part of the buying decision. Keeping the right boat painting tools ready helps cut delays during seasonal maintenance and removes some of the hassle. It also helps to keep enough paint and supplies for touch-ups on bunks, keel areas, and other spots that wear down first, instead of scrambling to replace them later.
Marine-specific products are usually a safer choice than generic hardware-store substitutes whenever solvents, underwater coatings, or heavy prep work are involved. Many boat owners also buy from marine parts retailers that already cover engine care, maintenance, onboard systems, and similar needs, so a supplier like First Choice Marine fits naturally with that kind of maintenance planning.
Frequently Asked Questions
What marine paint supplies do I need for a basic bottom paint job?
You usually need cleaning supplies, a scraper, sanding materials, masking tape, a degreaser or wax remover, paint stirrers, trays, rollers, brushes, gloves, eye protection, and a respirator. If the boat is large, an extension pole helps too.
Can I paint over old bottom paint?
Sometimes, yes, but only if the new paint is compatible with the old coating. You still need to clean the hull well, remove loose paint, and sand or prime as required.
How often should bottom paint be reapplied?
Many boat owners repaint once a year, especially if the boat stays in the water. The actual schedule depends on paint type, number of coats, water conditions, and how often the boat is used.
What are the most important bottom paint tools?
A strong paint mixer, solvent-safe roller tray, marine-grade rollers, cut-in brushes, sanding tools, and good masking tape are among the most useful. These tools help improve coverage and reduce mistakes.
Are eco-friendly anti-fouling paints worth considering?
Yes, especially if local rules or personal preference push you toward lower-toxicity options. Just make sure the product matches your hull, water conditions, and performance needs before switching.
Put Your Paint Plan Into Practice
A better boat finish starts long before the first coat goes on. The right marine paint supplies help you clean the hull the right way, prep the surface, apply paint more evenly, and protect the spots that wear down fastest. That usually means less waste, fewer problems, and a boat that holds its finish longer over time.
Don’t shop for paint by itself. It works better to plan the whole job as one complete system. Choose solid boat prep supplies, reliable bottom paint tools, proper safety gear, and anti-fouling paint accessories that match your hull and your water conditions. Follow the steps in the right order, and check compatibility before you begin, since that’s an easy detail to miss.
Planning your next maintenance job? Make a checklist before you buy anything. Look at the hull’s condition, the old coating, your launch schedule, and the tools you already own. A little planning early on can save a lot of extra sanding, repainting, and frustration later. For boat owners looking for reliable parts, maintenance gear, and practical advice, starting with a careful plan helps the work go more smoothly.
