

Your trailer does more than carry your boat. It helps protect the hull, supports safer towing, and makes getting on and off the water much easier with a lot less stress. If you want fewer roadside surprises, a trailer that lasts longer, and safer trips to the ramp and back home, this guide is for you. It’s made for recreational boaters, fishing hobbyists, commercial operators, and DIY owners who want a simple system they can actually stick with, which usually helps a lot.
Boat trailer maintenance isn’t complicated, but it does need to happen regularly. A worn tire, an overheated hub, a rusty light connection, or a weak winch strap can turn a normal launch day into an expensive problem fast. That kind of trouble can show up earlier than you’d think. The good news is that most trailer issues can be caught early with a clear routine. In the steps below, you’ll see what to check before each trip, what to service every few months, which accessories are really worth adding, and how to keep your trailer ready for the road and the launch ramp.
Before You Start
What you need:
- Tire pressure gauge
- Grease gun with marine grease
- Basic hand tools
- Jack and jack stands rated for the trailer
- Wheel chocks
- Brake fluid if your trailer uses hydraulic brakes
- Fresh water hose for rinsing
- Flashlight
- Clean rags
- Replacement bulbs or submersible LED lights if needed
- Spare tire with a mount
- Gloves and eye protection
Before you begin, park the trailer on level ground. It’s a simple step, but it makes the job much easier. Use wheel chocks, and keep the trailer away from traffic so you have enough room to work without cars passing too close. If the trailer goes into saltwater, rinse it after every trip with fresh water. That’s usually one of the easiest habits to keep up, and it often helps more than people think.
Step 1: Build a simple maintenance schedule
A simple schedule usually makes it a lot easier to stay ahead of trailer problems than treating maintenance like a random task. Recent guidance suggests wheel bearing lubrication every 6 to 12 months, a full trailer service once per year, or every 6 months if you use the trailer often. Brake fluid inspection is also commonly recommended every 4,000 to 8,000 miles or once per year.
| Task | Recommended interval | Why it matters |
|---|---|---|
| Lights, coupler, chains, tire pressure | Before every trip | Prevents common towing failures |
| Bearing inspection and lubrication | Every 6-12 months | Helps avoid overheated hubs and wheel loss |
| Full trailer service | Annually or every 6 months for frequent use | Catches brake, frame, and suspension wear early |
| Brake fluid inspection | Every 4,000-8,000 miles or yearly | Maintains braking power and safety |
This routine matters even more because the market is large and still growing, which means more trailers are on the road than before. In the U.S., boat trailer sales reached 198,452 units in 2025, while the global market hit USD 1.46 billion. More use often means more wear, especially for owners who tow long distances or launch in saltwater, which is usually tougher on parts.
Regular and thorough trailer maintenance is indispensable for prolonging its lifespan, ensuring efficiency, reliability, and safety.
Tip: One helpful approach is to add reminders to your phone for pre-season, mid-season, and an end-of-season check. It’s a small habit, but it can likely help you avoid major repairs.
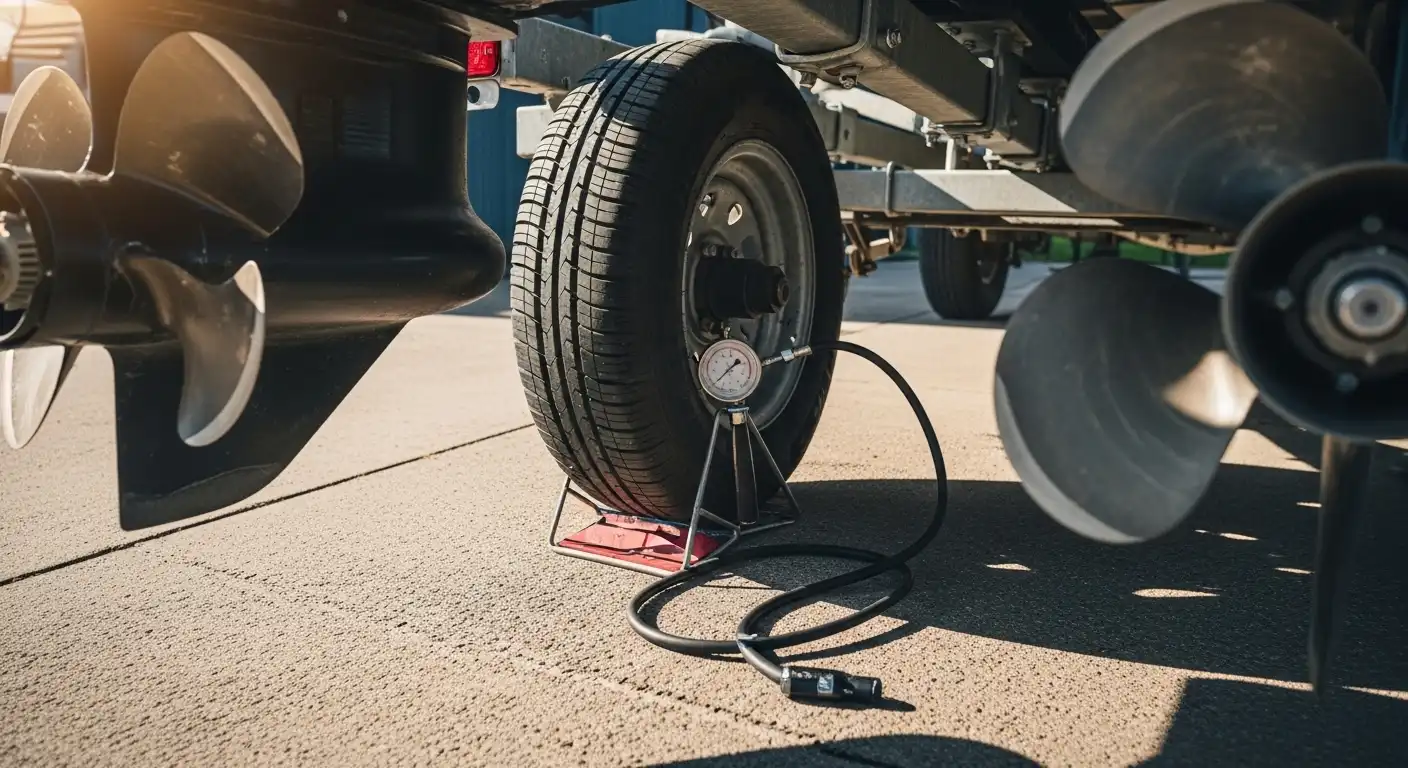
Step 2: Check tires, wheels, and load balance before every trip
Tires are the first thing to check before any trip. Use a pressure gauge and fill each tire to the number listed on the tire sidewall or trailer placard. Don’t go by how they look. Trailer tires can look completely fine even when the pressure is low, and people miss that all the time. Then check the tread and look for cuts, bulges, or dry rot. If you see small sidewall cracks that look like spider webs, that usually means the tire should be replaced soon.
It also helps to make sure the lug nuts are tight and to check the spare tire too. A spare only helps if it’s inflated and stored somewhere you can actually reach, not buried behind gear. That’s an easy detail to overlook. For many owners, adding a spare tire and mount is a smart trailer upgrade, especially if the trailer doesn’t already have one.
Load balance matters just as much as tire condition. A common towing guideline is to keep 60% of the load toward the front of the trailer. That often helps keep tongue weight stable and reduce sway. If the trailer starts fishtailing, stop and rebalance the load before moving on. In most cases, fixing it right away is better than hoping it settles down on its own.
Common mistakes:
- Towing on old tires with decent-looking tread but cracked sidewalls
- Forgetting to check the spare tire
- Loading gear too far back, which can lead to sway
- Using different tire sizes or load ratings on the same trailer
We covered trailer tire failures and warning signs here: trailer tire failures explained.
Step 3: Service bearings and hubs before they fail
Wheel bearings are a major part of boat trailer maintenance. They work in a harsh environment, and they can fail fast if water gets inside or the grease starts to wear out. One wheel at a time, jack up the trailer and spin the tire by hand. You will often hear grinding if something is wrong, and a rough feel is another sign. Then grab the tire at the top and bottom and rock it. Too much play usually points to bearing wear.
If you’re doing a full service, remove the hub. Clean the bearings, inspect the races, and repack everything with marine grease. That usually matters on a boat trailer because marine grease handles wet conditions better than regular automotive grease. If the trailer has bearing protectors, check for leaks and make sure the grease level looks correct.
During fuel stops or rest breaks, carefully touch each hub. A little warmth can be normal, especially after highway driving. But if one hub feels very hot, that is a warning sign. In my view, that is when you should stop towing and find the cause before getting back on the road.
Prompt replacement of worn or damaged bearings, axles, and leaf springs helps to avert trailer breakdowns and guarantees safe towing.
Average annual boat trailer maintenance cost is often around $100. That is a small amount compared with paying for a roadside tow, dealing with a damaged spindle, or losing a wheel.
Common mistakes:
- Using the wrong grease
- Overfilling protectors and blowing out seals
- Ignoring hot hubs after highway driving
- Reusing damaged seals during repacking
Step 4: Inspect brakes, suspension, and frame corrosion
If your trailer has brakes, check them regularly instead of waiting for them to feel weak. And if it uses hydraulic or surge brakes, check the brake fluid level and condition too. It matters, and it’s usually one of those things people ignore until there’s already a problem.
Leaks often show up first at the lines, fittings, calipers, and backing plates, so give those spots a close look. Heavier trailers, especially ones used in saltwater, often need extra attention here because wear usually shows up sooner.
It’s also worth getting under the frame. Check the leaf springs, U-bolts, shackles, equalizers, axles, and welds. Rust around spring mounts and fasteners is common. Surface rust can often be cleaned up and treated early, but deep flaking rust, cracked hangers, and bent parts usually mean repairs or replacement are needed sooner rather than later.
If you boat in saltwater, rinse the entire trailer after every launch, including the brakes, axle areas, and crossmembers. That simple habit can slow corrosion more than most people expect.
More people are choosing corrosion-resistant hardware. Stainless brake components and electric-over-hydraulic brake upgrades are getting more attention because they can improve control and may hold up better in marine use.
We covered brake, bearing, and light problems here: Boat Trailer Maintenance: Bearing, Brake, and Light Failures.
Step 5: Test lights, wiring, and connection points
Trailer light problems are pretty common. Water, vibration, and corrosion all wear on the electrical system over time, so that usually isn’t much of a surprise. Before every trip, plug in the trailer and test the running lights, brake lights, and turn signals. If one light is out, the ground is often the first thing to check because it can save a lot of time. Corroded connectors and bad grounds cause a lot of trailer lighting problems.
A flashlight helps when checking the plug, harness, and wire routing, and that extra minute is often worth it. Look for cracked insulation, green corrosion, pinched wires, and loose clips. One good fix is to replace damaged sections instead of wrapping everything in tape and hoping it holds up. If you launch often, submersible LED lights are usually a smart upgrade since they tend to last longer and need less maintenance than older bulb-style lights. They’re often worth it.
Tip: Add dielectric grease to clean electrical connections to help slow corrosion.
Common mistakes:
- Forgetting to test lights after backing into the water
- Leaving loose wiring where it can rub against the frame
- Replacing bulbs and still ignoring a corroded ground
- Using household connectors instead of marine-grade parts
If your trailer lights keep acting up, we covered diagnosing trailer electrical failures here, and that can probably help narrow it down.
Step 6: Upgrade the accessories that improve safety and launching
Not every trailer accessory is worth buying, but some upgrades really do make everyday use easier. It usually makes sense to start with the basics, especially the parts that improve safety, loading, and regular handling, since that’s often where you notice the difference first.
A spare tire and mount should be near the top of the list. A sturdy tongue jack that rolls well over uneven ground also helps a lot. On heavier trailers, dual wheel tongue jacks can make it much easier to move the trailer by hand, while guide-ons help keep the boat centered during retrieval if your ramp is hard to load at, especially when it’s steep or crowded.
Bunk accessories are worth looking at too. Market data shows aluminum trailers are expected to hold 67% share in 2026, and bunk trailers are still the most common design. Future Market Insights noted that bunk trailers are expected to lead demand with 50% share in 2026, largely because users want more even hull contact.
Bunk trailers are likely to lead product type demand with 50% share in 2026 as users value steady hull contact.
That likely explains why bunk slicks, poly bunk covers, keel rollers, and similar add-ons stay popular. They can reduce friction, support the hull more evenly, and make launching and retrieval smoother in daily use. Just as important, the winch, strap, and safety chains need regular inspection. Frayed webbing, rusted hooks, and undersized chains are serious problems, and they often show up after repeated use.
For parts and maintenance items, many boaters compare options through specialists such as First Choice Marine when looking at marine-grade hardware and care products.
Step 7: Verify success with a final road-ready check
Before leaving home or pulling away from the ramp, do one quick walk-around, and it usually takes only a minute. Make sure the coupler is fully latched and pinned. The safety chains should be crossed under the tongue so they hang below it. Also check the winch strap and transom straps, then confirm the jack position, license plate, and lights. One thing people often miss is the wheel chocks, along with making sure the drain plug status matches the launch or towing plan.
A short test tow is also worth it. If possible, drive a few slow laps around the lot or through the neighborhood. Listen for clunks, watch for sway, and pay attention to how the brakes respond. After a few miles, stop and check hub temperature, strap tension, and tire heat. Most of the time everything will seem fine, but if one hub is much hotter than the others, service it before a long trip.
This final check matters because towing safety has real risks. An OSHA outreach summary citing NIOSH data noted an annual towing industry fatality rate of 42.9 per year. The goal is to avoid letting a preventable trailer problem turn into a road emergency.
Frequently Asked Questions
How often should you service a boat trailer?
For most owners, a full service once a year is a good baseline. If you tow often, launch in saltwater, or cover long distances, inspect and service key items like bearings and brakes every 6 months.
What is the most important part of boat trailer maintenance?
There is not just one, but bearings, tires, brakes, and lights are the top priorities. Those parts affect both safety and reliability, and they are also the most common failure points.
Should you rinse your boat trailer after every launch?
Yes, especially after saltwater use. Rinsing the frame, brakes, axle, bunks, and wiring helps slow corrosion and can extend the life of the trailer and its accessories.
Which trailer accessories are worth buying first?
Start with a spare tire and mount, quality tie-downs, a reliable tongue jack, and bright submersible LED lights. After that, guide-ons, bunk slicks, poly bunk covers, and corrosion-resistant brake parts can be smart upgrades based on how and where you use the trailer.
Where can you find marine-grade trailer parts and maintenance products?
A marine-focused retailer is often a better fit than a general hardware source because trailer parts need to handle water, corrosion, and towing loads. Many owners compare options through stores like First Choice Marine when they need boat care supplies, hardware, and related maintenance items.
How do you know if your trailer bearings are going bad?
Watch for hot hubs, grinding noise, wheel play, grease leakage, or a rough feeling when you spin the tire by hand. If you notice any of these signs, service the bearings right away before towing farther.
Put This Routine to Work
The best trailer setup usually isn’t the most expensive. It’s the one that gets inspected, cleaned, and serviced on a regular schedule (simple, honestly). That may sound basic, but here it matters because it covers the main risk areas: tire pressure, bearing grease, brake condition, light function, corrosion control, and safe load balance. Following the steps in this guide also helps figure out which accessories really make towing and launching easier, instead of just adding clutter (which happens a lot, honestly).
A good place to start is with a pre-trip checklist, along with a yearly service date on the calendar. Then it makes sense to add a few smart upgrades, like a spare tire, LED lights, and better bunk components or brake parts, if they fit the trailer and boating style. How do you make sure it all works? A short test tow and a hub-temperature check will often catch problems early. In most cases, that’s enough.
This simple routine can help avoid breakdowns, protect the boat, and make towing feel more confident all season. Small checks often prevent bigger failures before the trailer is stuck on the road or causing trouble at the ramp.