


Choosing marine paint supplies can get confusing quickly. One store has a whole wall of rollers, brushes, solvents, primers, tapes, pads, trays, and strange little tools, and that is a lot to sort through. Then another guide makes it sound like repainting one hull panel needs an entire pro shop. Most boat owners do not need all that. They usually just need a simple setup that helps paint stick the right way, go on smoothly, and hold up out on the water.
This guide focuses on the boat paint supplies that matter most for real-world jobs. It starts with the basic stuff, because that is often what is actually needed. It covers boat paint prep tools, marine paint rollers and brushes, primers, cleaners, safety gear, and the items people tend to overbuy. It also looks at when a DIY boat painting job makes sense, and when it may be smarter to stop after prep and bring in help. In many cases, a better result does not mean buying more gear. If a practical marine coating supplies review sounds more useful than a sales pitch, this is probably the right place to start. We also covered the bigger picture in Boat Paint Supplies Explained: Tools, Prep, and Results.
Start With Prep, Not Paint
One point keeps coming up in solid painting guides: prep usually matters more here than brand hype. The marine coatings market is still growing, and boat owners likely have more choices now than they did before. Research says the global marine paints market is expected to reach US$3,112.13 million in 2025 and US$3,999.90 million by 2030. Anti-fouling products are still a major category too, with 41.6% share in 2026. That gives helpful context. Paint systems keep expanding, and yes, there are a lot of them, but the basics still usually decide how the job turns out.
| Metric | Figure | Year/Forecast |
|---|---|---|
| Global marine paints market | US$3,112.13 million | 2025 |
| Global marine paints forecast | US$3,999.90 million | 2030 |
| Anti-fouling segment share | 41.6% | 2026 |
The table shows this is a large and growing category. Still, for a small DIY job, the supply list is usually pretty short. In many cases, a cleaner or dewaxer, the right abrasive, lint-free rags, masking materials, primer if needed, and basic paint tools for boats are enough to handle most jobs. That is really the main list, and it is not anything fancy.
The most critical aspect of a painting job is preparation. Poor surface preparation will always show through in the final coat.
That advice fits what many experienced boat owners already know. If a surface is dirty, glossy, chalky, or greasy, even expensive paint can fail. Because of that, it is often smarter to buy the prep items first and think about fancy applicators later. Skip that step, and a simple weekend project can easily turn into doing the whole job twice.
The Core Boat Paint Supplies You Actually Need
For most topside jobs or smaller repairs, boat painting supplies can stay pretty simple. A good place to start is with a marine-safe cleaner or dewaxer. That step removes salt, wax, grease, fuel film, and old residue that can get in the way of adhesion, which is often a bigger problem than people expect.
Then comes sandpaper. Research-backed guidance suggests 180 to 320 grit works well for many one-part topside paints. For bottom paint prep or rougher surfaces, 80 grit is often a better choice, so it really depends on the job.
Surface prep for most one-part topside marine paints requires that you sand the surface with 180-320 grit sandpaper so the paint can achieve the strongest mechanical bond, and a smooth finish.
Lint-free rags and the right solvent wipe should be on the list too. After sanding, fine dust usually sticks around, and DIY boat painters skip this step all the time. Skin oils and leftover wax can also stay on the surface if it is not wiped down well, which often causes avoidable problems later.
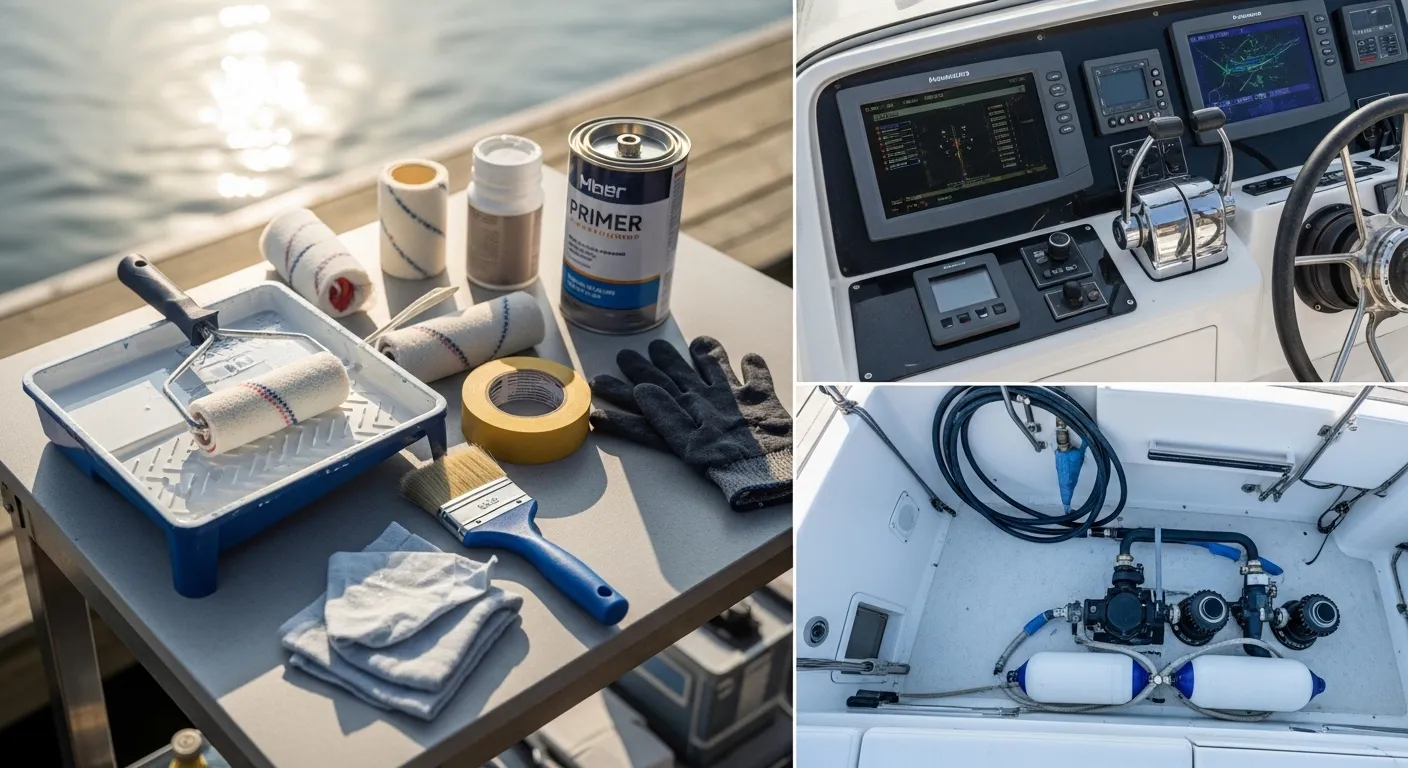
Your must-have list should usually include:
Prep supplies
- Cleaner or dewaxer
- Sandpaper in the grit range needed for the coating
- A sanding block, or a sander for bigger areas
- Lint-free rags (just the simple kind)
- A solvent wipe recommended for the paint system
- Masking tape, plus plastic or paper (you’ll often use both)
Coating supplies
- Primer, if the system needs it
- A paint tray with liners
- Roller frame and covers
- A brush for edges and detail work, or for tipping if needed
- Mixing cups and stir sticks
Safety supplies
- Gloves
- Eye protection
- A respirator suited for paint fumes and dust
- Old clothes or coveralls
For a lot of recreational boat owners, that’s usually enough. It’s all pretty straightforward. You probably won’t need lots of different brush types or a whole shelf of specialized tools just to repaint a hatch lid, a console area, or a worn topside section, which is nice. In most cases, that’s all you need.
Choosing Marine Paint Rollers and Brushes
This is one area where a lot of people spend more than they need to, and that happens pretty often. It is easy to think a better finish means buying a bigger stack of tools, but marine paint rollers and brushes usually each have a pretty specific job. Rollers are mainly for fast, even coverage on larger flat areas. Brushes work better for corners, around hardware, small touch-up spots, and for “tipping” when the goal is a smoother-looking finish.
For a lot of DIY work, the setup can stay pretty simple: one roller frame, a couple of matching roller covers, and one good-quality brush. That is usually enough. On big open areas, a roller saves time and often helps keep the coating thickness more even. In tighter spots, a brush handles the work a roller cannot really reach. And when a smoother topside finish matters, many boat owners use the roll-and-tip method. One person rolls on the paint, then lightly pulls a brush through the wet film so it can level out, which often helps a lot.
The common mistakes are not complicated, but they still happen all the time. Some people use household brushes that drop bristles. Others choose the wrong roller for the coating thickness, or try to get one more job out of old rollers that have already started to dry out. Then there is the habit of buying extra-wide tools for small jobs. On a curved hull, that usually does not help much, and in many cases it just makes the work more awkward.
A real-world example makes this pretty clear: a fishing boat owner repainting a faded livewell lid and the nearby deck trim may only need one small roller, one brush, tape, cleaner, and a small amount of primer and paint. A commercial workboat handling bottom paint and patch repair needs more abrasive material and more masking. It will probably also use more disposable supplies, since the surface area is bigger and the contamination level is higher.
If the focus is bottom coatings, we covered that here in Boat Bottom Paint: Best Practices for Application and Maintenance.
Boat Paint Prep Tools That Save Time
Some tools are worth buying for a simple reason: they save time. Good boat paint prep tools help you clean up faster, sand more evenly, and often keep you from having to redo parts of the job later, which gets frustrating fast. A sanding block is a good example. It spreads pressure more evenly than a bare hand, especially on flat areas like hull sides or deck panels. On bigger jobs, a small random orbital sander can also reduce the work a lot, as long as dust stays under control and you give extra attention to the edges, where problems often begin.
Masking is another step that makes a real difference. Cheap tape that lifts or lets paint slip underneath can ruin an otherwise clean line. Plastic sheeting matters here too, and masking paper does too. A lot of first-time DIYers underestimate that part until overspray or sanding dust ends up on nearby surfaces. Good masking helps protect rub rails, fittings, and nearby gear, so those same areas do not have to be cleaned again.
For dewaxing and cleaning, how the job gets done matters just as much as the products. One practical guide recommends working in 5-by-5-foot sections. That keeps the cleaner from drying before you wipe it away, and it often makes the whole process feel more organized. On larger hulls, that kind of routine can save a surprising amount of time, especially for someone working alone.
A common mistake is reaching for aggressive stripping tools when the old coating is still in good shape. If the surface is stable, a careful scuff-sand and a thorough cleaning may be enough. Over-stripping usually adds time, cost, and extra risk. If oxidation and surface grime are also part of the prep work, that is covered here: Boat Cleaning Tools Reviewed: What Actually Saves Time, Protects Gelcoat, and Delivers Pro-Level Results.
What You May Not Need
This is often the part shoppers care about most: what can you skip?
In many cases, you do not need specialty applicators unless the paint maker says so, and they usually make that pretty clear. Heavy-duty stripping discs may not be needed if the old finish is still in pretty good shape. For one small project, several primer types are probably not needed either. And premium topcoat layers will not help much if the prep work was not done properly in the first place.
A simpler way to think about it is spending more on prep and compatibility, not extra accessories. The right cleaner matters, along with the right grit, a primer that fits the job, and fresh roller covers. In this view, those items usually make a bigger difference than filling the cart with optional add-ons, often by a lot, which tends to surprise people.
Environmental pressure is shaping product choices too. Buyers are paying closer attention to lower-impact coatings and systems that meet regional rules. That does not mean every older product is gone. It means labels need a closer look, and supplies need to match the local use case more carefully than before, especially when buying for a specific area.
Building a Smart DIY Boat Painting Kit
If there’s one practical answer to the whole marine coating supplies review question, it’s this: build the kit around the job you need to do, not around marketing claims. It’s pretty simple. A small topside refresh kit is not going to fit a full bottom paint setup, and that’s usually completely normal. A trailer-stored fishing boat also often needs a lot less than a boat that sits in the water for weeks or months at a time.
For many owners, a smart starter kit includes cleaner, 180 to 320 grit paper for topside prep, a few coarser sheets for repair areas if needed, lint-free wipes, masking tape, tray liners, a roller frame, roller covers, one good brush, gloves, eye protection, and a respirator. That’s the basic setup. Then add the right primer if the paint system calls for it, which it often does.
Shoppers looking for dependable parts and maintenance gear often use First Choice Marine as a practical resource when planning bigger boat care jobs. That helps because paint work rarely happens by itself. Owners often handle cleaning, hardware checks, and other maintenance at the same time, so getting supplies in one place can make the process easier to keep organized.
Frequently Asked Questions
What are the most important marine paint supplies for beginners?
Start with cleaner or dewaxer, sandpaper, lint-free rags, masking tape, primer if needed, a roller, a brush, and basic safety gear. That covers most simple DIY boat painting jobs without wasting money.
What grit sandpaper should I use on a boat before painting?
For many one-part topside paints, 180 to 320 grit is a common prep range. For rougher hull prep or some bottom paint work, 80 grit may be used. Always match the grit to the coating system and the surface condition.
Do I need both rollers and brushes for boat painting?
Usually, yes. Rollers cover large areas quickly, while brushes handle edges, corners, and detail work. A brush is also useful for tipping to improve the finish on topside paint.
Can I skip primer on a boat paint job?
Sometimes, but not always. Some paint systems, especially two-part products, usually require a specific primer for adhesion and durability. Skipping primer when it is required can lead to peeling or early failure.
What is the biggest DIY boat painting mistake?
Poor prep is the biggest one. Dirt, wax, sanding dust, and glossy old coatings can all keep paint from bonding well. Most finish problems start before the first coat is even opened.
The Bottom Line for Boat Owners
The best boat paint supplies usually aren’t the ones that create the longest shopping list. They’re the ones that fit your surface, your coating, and your skill level, which honestly matters a lot here. For most boat owners, that means putting prep first, keeping tools simple, and not letting anyone convince them to buy every accessory on the shelf. Cleaner, abrasives, solvent wipe, masking, primer when needed, and a basic roller-and-brush setup will often do more for the final finish than expensive extras. It’s pretty simple.
A smooth, lasting result starts well before any paint goes on the boat. Fresh materials help, and taking time with prep usually pays off more than rushing through it. Even if it feels a bit tedious, following the coating system instructions matters. If the job starts to feel bigger than a simple DIY project, it’s completely fine to stop before wasting paint and effort. In most cases, pausing there is the better choice.
When it’s done right, DIY boat painting can save money, protect the hull, and help the boat look better through the season ahead. Keep the kit practical, the process clean, and the expectations realistic. That’s probably the part most people need to hear.
