


Boat motors work in a pretty rough environment. Heat, vibration, salt, moisture, and long idle periods all put pressure on seals and mating surfaces, which is a lot for any engine to deal with. That’s why engine gaskets matter so much. Even a small gasket leak can lead to overheating, power loss, water getting in, or a much more expensive boat engine repair if the early signs are missed.
For many boat owners, gaskets can seem like small, easy-to-forget boat engine parts. But they protect some of the most important systems in the motor. They keep oil where it belongs, help the cylinders keep proper compression, and stop coolant or water from getting into the crankcase or other places it should never be. That job is often more important than it seems at first. When a gasket fails, the symptoms can also be confusing and easy to read wrong, especially early on. The good news is that there are clear warning signs and a practical way to handle the repair.
In this guide, readers will learn how to spot gasket leaks on outboards, inboards, and marine diesels, along with how to choose the right replacement parts. It also covers ways to help keep the same issue from happening again. For dependable engine care advice and help with parts selection and replacement options, that support is available here: First Choice Marine.
Why boat engine gaskets fail in the first place
Most gasket failures are not random. In marine engines, heat is often the main reason. When the cooling system cannot keep up, gasket material gets stressed, metal parts expand, and sealing surfaces can warp, which is usually where the real problem starts. Once that happens, even a brand-new gasket may not seal the way it should against the head or block.
What should be done is that a compression test should be performed before any engine disassembly is done.
That advice matters because the symptoms often overlap. A rough idle or loss of power might point to a fuel problem, an ignition issue, or maybe a leaking head gasket. At first, it can be hard to tell, and that is pretty common. A solid diagnosis usually saves time and money, and it also helps avoid replacing parts that were never actually the problem.
Here are a few numbers that show how closely cooling-system care is tied to gasket life.
| Maintenance item | Recommended interval | Why it matters |
|---|---|---|
| Impeller | Every 200 hours or every 2-3 years | Weak water flow can lead to overheating |
| Thermostat | Every 3-4 years | Poor temperature control stresses gaskets |
| Belts and hoses inspection | Every 50 hours | Small cooling faults can grow fast |
| Closed-loop coolant service | Test yearly; flush every 2-5 years | Helps control heat and corrosion |
Sea Tow maintenance guidance also says that impellers, thermostats, coolant, belts, and hoses all need regular attention, not just emergency replacement. DieselPro is even more direct, saying overheating is the most common cause of cylinder head failure in marine diesel engines. So in many cases, failed engine gaskets are really cooling-system failures in disguise, often more than people realize.
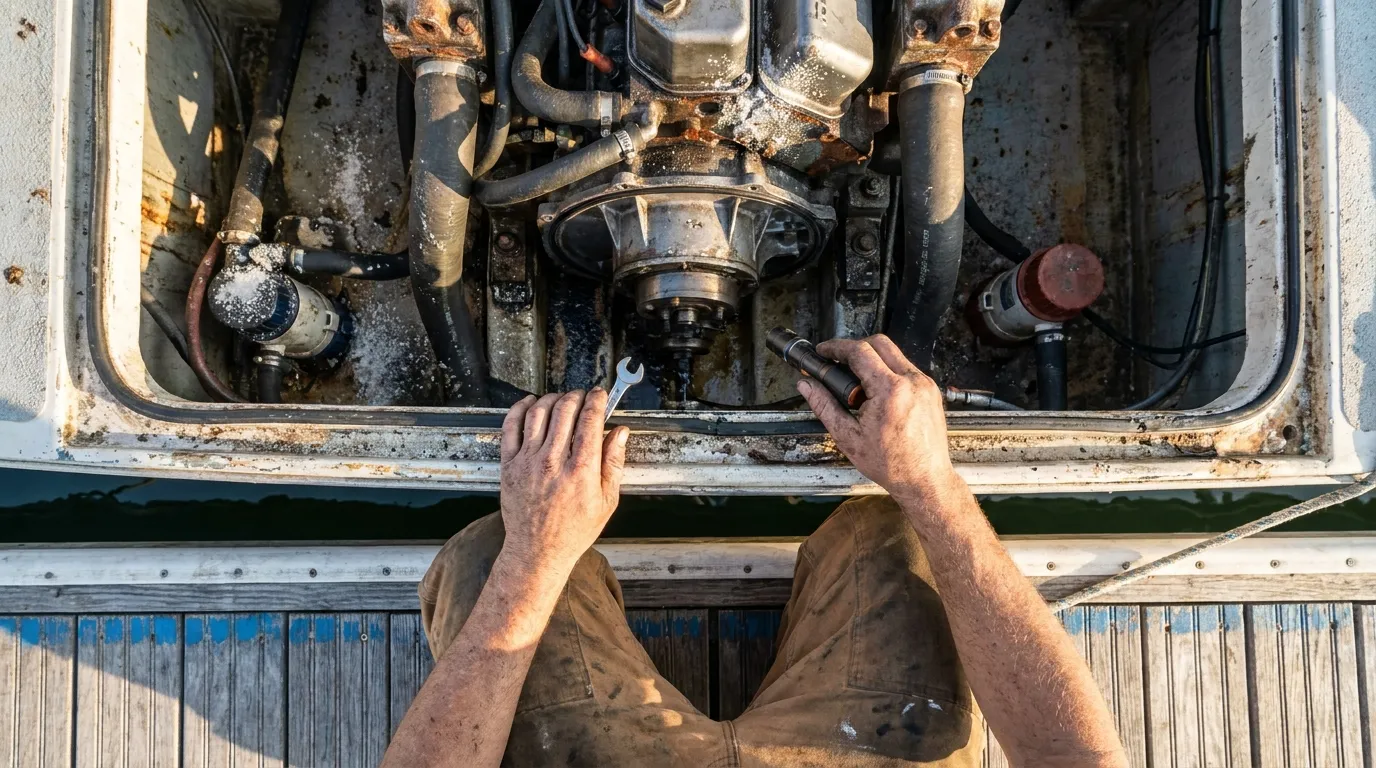
How to identify engine gaskets leaks before major damage starts
The sooner you catch a leak, the better your chances are for an easy fix. Start with the obvious spots. Around the head, valve cover, water pump cover, intake area, and exhaust connections, you’ll often see wet spots, stains, or crusty buildup, and it’s usually easy to notice. Oil seepage usually looks dark and greasy. Coolant leaks can leave colored residue. If water is getting in, it may show up as rust or mineral marks.
That said, the engine’s behavior matters too. Common warning signs include overheating, white exhaust smoke, hard starting, rough idle, misfires, power loss, and fluid loss that doesn’t really make sense. One of the clearest red flags is milky oil, which often means water is mixing with oil. PartsVu also says a compression difference of more than 10% between cylinders can point to a head gasket problem, which is a strong clue.
So use a simple step-by-step check:
Start with the fluids
Start with the dipstick: look for milky oil or an oil level that keeps rising, which is usually a bad sign. If your engine uses a closed-loop system, check the coolant too. And if fluid levels keep dropping but no leak is visible, it’s probably time to check further.
Check temperature history
Normal engine temperature is usually around 200, 225°F. But when it gets closer to 240°F, which is pretty hot, the risk of damage usually goes up. If the alarm went off recently, a gasket problem is more likely.
Run a compression test
A compression test is a really useful way to check whether the seal between the cylinders, head, and block is still holding up. It’s also often one of the best ways to tell gasket trouble from other boat engine repair problems. For more diagnostic help, you can review Engine Diagnostics for Boats: Interpret Fault Codes Easily to learn how to interpret readings correctly.
Inspect nearby systems
Sometimes the real problem isn’t the motor itself, but a bad thermostat, a worn impeller, a blocked passage, or a rusted exhaust part. If you want a broader look at repair costs before opening the motor, you can also check Boat Engine Repair Costs Explained: What You Can Fix Yourself and What You Shouldn’t.
Choosing replacement engine gaskets and related boat engine parts
Once the leak is confirmed, it usually helps not to grab the first gasket that matches the engine brand. Fit matters, but the material matters too, along with the condition of the whole system. The best replacement is often the one that matches the exact engine model, year, and serial range, and that matters a lot. That becomes even more important with head gaskets, exhaust gaskets, water pump cover gaskets, intake gaskets, and valve cover seals.
A lot of DIY boaters ask whether OEM or aftermarket is better. It’s a simple question, but the short answer here is to choose marine-grade parts from a trusted source and make sure the fit is exact. Cheap parts may save money at first, but they can fail early if the material cannot handle heat, corrosion, or the engine’s clamping load, and that happens more often than many expect.
Before installation, inspect all mating surfaces. If the head or cover is warped, scratched, or pitted, a new gasket can start leaking right away. DieselPro technical guidance says gasket failures often come from overheating, warping, or improper installation. In some cases, though, the gasket itself is not the real issue.
A smart replacement checklist includes:
Match the part exactly
Use the engine model and serial data, that’s usually what matters. And don’t guess by appearance, you know.
Replace one-time seals
If the service guide says to replace the O-ring or cover gasket, do it, seriously. Replace the sealing washer too. Reusing old seals often causes repeat leaks, and that’s a pretty common problem.
Inspect bolts and fasteners
Some fasteners can stretch over time, and this happens more often than people think. They likely shouldn’t be reused. Also follow the torque specs and correct tightening sequence.
Think beyond the gasket
It’s usually a good idea to check thermostats, impellers, hoses, clamps, exhaust parts, and other related pieces too. A complete repair often needs more than one part, and probably several. If you’re troubleshooting related engine issues, Engine Diagnostics for Boats: Interpret Fault Codes Easily can help next.
Common installation mistakes that lead to repeat engine gaskets failures
A lot of repeat failures show up after the repair, not before it. The gasket gets blamed, but the real problem is often poor prep or a root-cause check that never got finished. That’s where a lot of DIY repairs go wrong, and it happens more often than many people think.
One mistake people miss all the time is skipping flatness checks. It may seem minor, but if the cylinder head overheated, it may be warped even if it looks perfectly fine. Put a new gasket on a warped surface, and it can fail again pretty fast. In many cases, nothing looks wrong until the surface is actually checked.
Poor cleaning is another big issue. Old gasket material, corrosion, oil film, or small debris can keep the seal from sitting evenly across the mating surfaces. Those surfaces need to be clean and dry, but hard scraping can gouge them and create a completely different problem, which is frustrating in its own way. This is often one of the steps people rush.
Then there’s the torque procedure. Head bolts need to be tightened in the right sequence and in stages. Too loose, and the gasket may not seal. Too tight, and the gasket or even the threads can get damaged. According to CRC Industries, professional head gasket replacement often takes 6 to 12 hours, and labor rates usually run $75 to $200 per hour. That gives a better idea of how careful this job usually is and how much time it can really take.
Another common issue is replacing the gasket without fixing the reason the engine overheated in the first place. A weak impeller, a sticking thermostat, or a restriction on the exhaust side can shorten the life of the new gasket. On saltwater boats, exhaust components may need replacement every 3 to 5 years. Marine hoses may also need replacement every 5 to 7 years, even if they still look fine. Small details, sure, but here they often matter more than many owners realize.
How preventive maintenance protects your engine gaskets
Preventive care is usually much cheaper than repairs, and the numbers make that pretty clear. For example, CRC Industries estimates DIY head gasket repair at about $200 to $700, while general professional repair often runs between $1,000 to $3,000 in standard applications. Marine work can vary, and it often does. Still, the main takeaway is simple: staying ahead of heat and corrosion will likely save money and cut down on hassle.
A good preventive plan includes regular cooling-system checks, fluid inspections, and a quick look-over after each run. After every trip, watch for new drips, burnt smells, steam, or temperature readings that keep creeping up, even a little. It also helps to check the oil often. Even a five-minute inspection can help prevent a ruined weekend, and that’s a pretty good reason to stick with the routine below:
Every outing
Check the oil, watch the temperature, and quickly look for visible leaks.
Every 50 hours
Give belts, hoses, and clamps a quick check, and check the cooling flow too.
Every 2-3 years
Replace the impeller if its service hours or age usually mean it’s probably time.
Every 3-4 years
Yeah, probably replace the thermostat. Also check the cooling passages too.
Every 4 years on applicable Yamaha outboards
On applicable Yamaha outboards, PartsVu guidance suggests treating head gasket replacement as preventive service every 4 years, even when there are no symptoms yet, just to help avoid trouble.
That maintenance-first approach also seems to be showing up more across the marine world. Technicians often see the same pattern: gasket leaks usually happen after ignored cooling problems, rather than from random bad luck.
When to DIY and when to call a pro for engine gaskets repair
Some gasket jobs are realistic for a careful DIY owner. Valve cover gaskets, water pump cover gaskets, and even some access-cover seals can be manageable with patience, the manual, and the right torque tools. Even so, they usually are not quick jobs.
Head gaskets are a different type of repair. They often need much more disassembly, surface checks, torque-angle procedures, and follow-up testing, which can get tricky. In most cases, that makes them much more involved than smaller gasket jobs.
Professional help is often the safer choice if the engine overheated badly, mixed water and oil, lost compression across several cylinders, or may have a warped head. That is especially true on a commercial vessel, where downtime costs money and delays can add up fast.
DIY can still help a lot. You can inspect fluids, document symptoms, run a few basic tests, and replace aging support parts before they turn into a major failure. That kind of work is useful, and it often helps catch problems early.
If your boat also needs attention below the waterline, Boat Propellers Care: Repair, Reconditioning & Optimization is another practical guide that fits into a broader maintenance plan.
Frequently Asked Questions
What are the most common signs of a leaking boat engine gasket?
The biggest warning signs are overheating, milky oil, white exhaust smoke, rough idle, power loss, and visible seepage around engine covers or the cylinder head. Unexplained coolant or water loss can also point to a bad gasket.
Can I keep running my boat if I suspect a head gasket leak?
It is risky. Even a short run with a leaking head gasket can cause more heat, water intrusion, bearing damage, or warped metal parts. Shut down and inspect the engine as soon as it is safe.
Are aftermarket engine gaskets okay for boat motors?
They can be, but only if they are marine-grade and matched exactly to your engine model and serial range. Poor fit or low-quality material can lead to leaks and repeat boat engine repair work.
What test confirms a head gasket problem on a boat motor?
A compression test is one of the best first checks. If one cylinder is more than 10% different from the others, that can suggest a sealing problem. Leak-down testing and fluid inspection can add more proof.
Why do new gaskets fail again so quickly?
Repeat failures usually happen because the root cause was not fixed. Common causes include overheating, warped surfaces, dirty mating areas, reused seals, and wrong torque procedure during installation.
Keep your next engine gaskets repair from happening twice
Engine gaskets may be small, but they do a big job in every boat motor. Once one starts leaking, the warning signs can show up in the oil, cooling, compression, or exhaust systems. That’s why it helps to slow down and check the issue closely, even when the leak seems minor at first. You’ll often notice early signs like milky oil, temperature spikes, white smoke, fluid loss, or uneven compression. They may seem minor, but in this case they often point to a bigger problem. It also helps to choose replacement boat engine parts that really fit your motor. And don’t ignore the cooling system, since it may have caused the damage in the first place, which happens more often than many boat owners think.
To keep the same failure from happening again, the usual fix is simple: address the root cause, prepare surfaces correctly, follow torque specs, and replace worn support parts on time. These are basic steps, but they matter in most repairs. Some boat owners may feel comfortable handling the basic checks themselves, while deeper boat engine repair may be better left to a marine technician. Either way, a careful approach can save money and help make time on the water safer and more enjoyable.
If you’re planning the next maintenance job, a useful approach is to make a checklist before ordering parts. That first step often makes the difference between a repair that lasts and one that sends you back into the same job again.
